Disclosure: This post may contain affiliate links, meaning if you decide to make a purchase through my links I may earn a commission at no additional cost to you. See my disclosure for more info.
Making chilli chicken at home can feel intimidating, but honestly, it’s not as complicated as it seems. I remember the first time I tried it, I was worried about getting the chicken crispy enough and the sauce just right. The kitchen was a bit of a mess, flour everywhere, but the results were totally worth it. If you love that mix of spicy, sweet, and savory flavors, and want to skip the takeout, this guide is for you. Let’s walk through each step so you can nail your own batch of chilli chicken, no sweat.
Key Takeaways
- Wheat flour gives the chicken its signature crispy coating instead of cornstarch.
- Balancing salty, sweet, and spicy flavors is key for real chilli chicken taste.
- Chopping and marinating the chicken helps it soak up more flavor.
- Fry the chicken in small batches so each piece gets golden and crunchy.
- Use fresh aromatics and veggies for the best flavor and a nice pop of color.
Understanding The Core Of Chilli Chicken
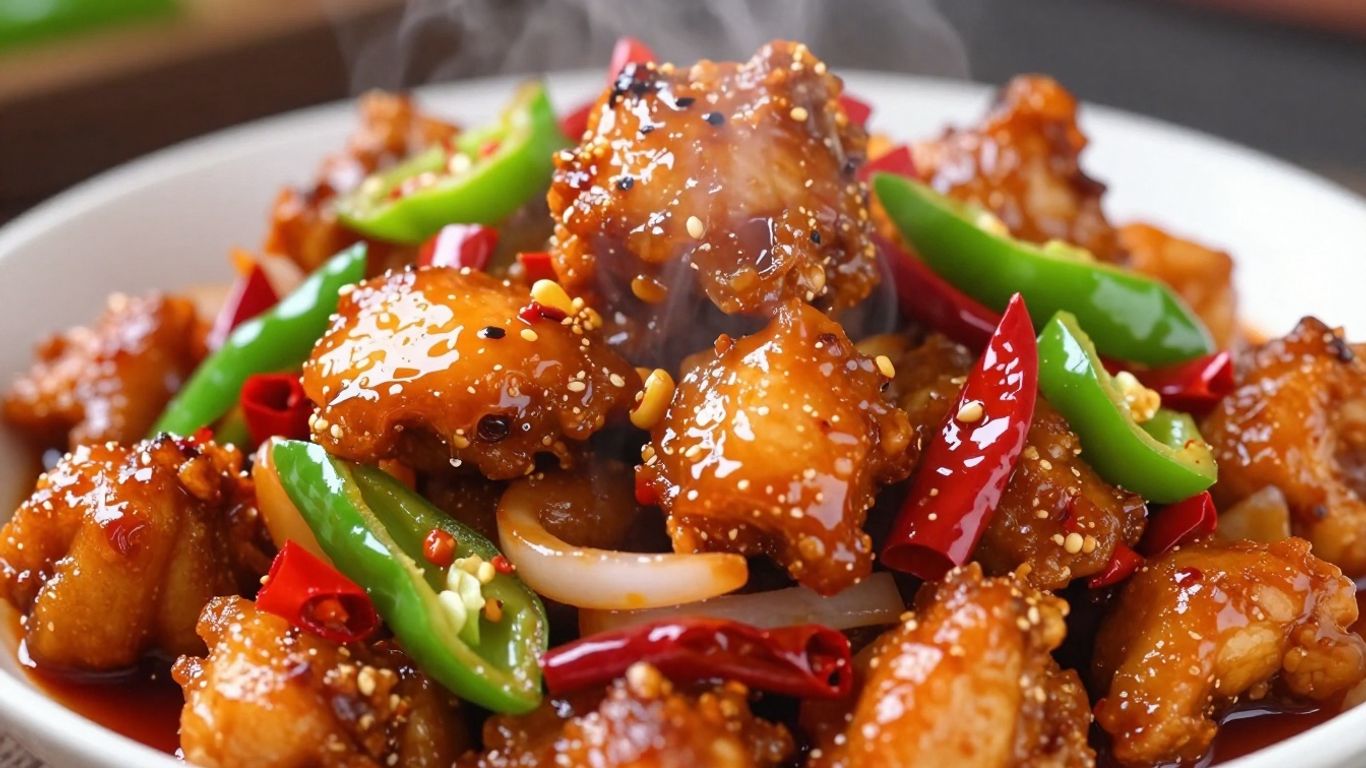
Chilli chicken is a staple in Indo-Chinese kitchens and comes packed with strong flavors and satisfying textures. Getting to know what makes this dish pop is the first step if you want to grab folks’ attention at the table. From its crispy first bite to the slow warmth of chilies, every element plays a part. Let’s break down the core aspects.
Explore more NutritionGeeks guides related to wellness, recovery, nutrition and active lifestyle support.
The Secret Ingredient: Wheat Flour Coating
You might’ve always reached for cornstarch, but wheat flour changes the game for chilli chicken. In some legendary family kitchens, cooks swapped in wheat flour for the classic dredge, and suddenly the chicken’s got this subtle, earthy crisp–not hard, just a soft crunch that hugs every piece. This simple swap brings the flavor closer to what’s served in bustling Indian-Chinese restaurants, especially where flour is easier to find.
- Wheat flour forms a softer, more even crust.
- It soaks up marinades, letting flavor slip under the skin.
- The coating crisps up fast in hot oil but keeps the chicken tender inside.
Balancing Flavors for Authentic Taste
The magic is all in the mix. Chilli chicken isn’t just spicy. You’re looking for a blend—savory, a little sweet, sour, and that kick of heat. It’s easy to get lost fiddling with the sauce, but it helps to know the main ingredients and what they do:
More NutritionGeeks Wellness Guides
Explore more NutritionGeeks guides connected to wellness, recovery, hydration, energy, sleep and active lifestyle nutrition.
| Component | Flavor Contribution |
|---|---|
| Soy Sauce | Adds umami depth |
| Hoisin Sauce | Sweetness and tang |
| Sugar | Balances out salt/acid |
| Vinegar/Wine | Brightens, adds a punch |
| Fresh Chilies | Real heat, not just color |
Don’t skip the sugar or toss in loads of chili thinking hotter is better—the key is that gentle balance that lets each note peek through.
Key Aromatic Elements
Chilli chicken gets its life from aromatics. These are those background smells and flavors you can’t always put your finger on, but you’d miss them if they weren’t there.
- Ginger – brings warmth and bright fragrance
- Garlic – earthy, bold, and sharp
- Onions – naturally sweet when they cook down
- Dried Red Chilies – for smokiness and that signature tingle
When you fry ginger and garlic together, the scent fills your kitchen and kinda tells everyone, "Hey, something good’s happening in here."
If you start your dish off layering those aromatics, you’ll nail that takeout aroma every time. It’s honestly hard to mess it up unless you burn something—keep that heat medium, stir a lot, and you’ve already learned the most important lesson.
Preparing Your Chilli Chicken Ingredients
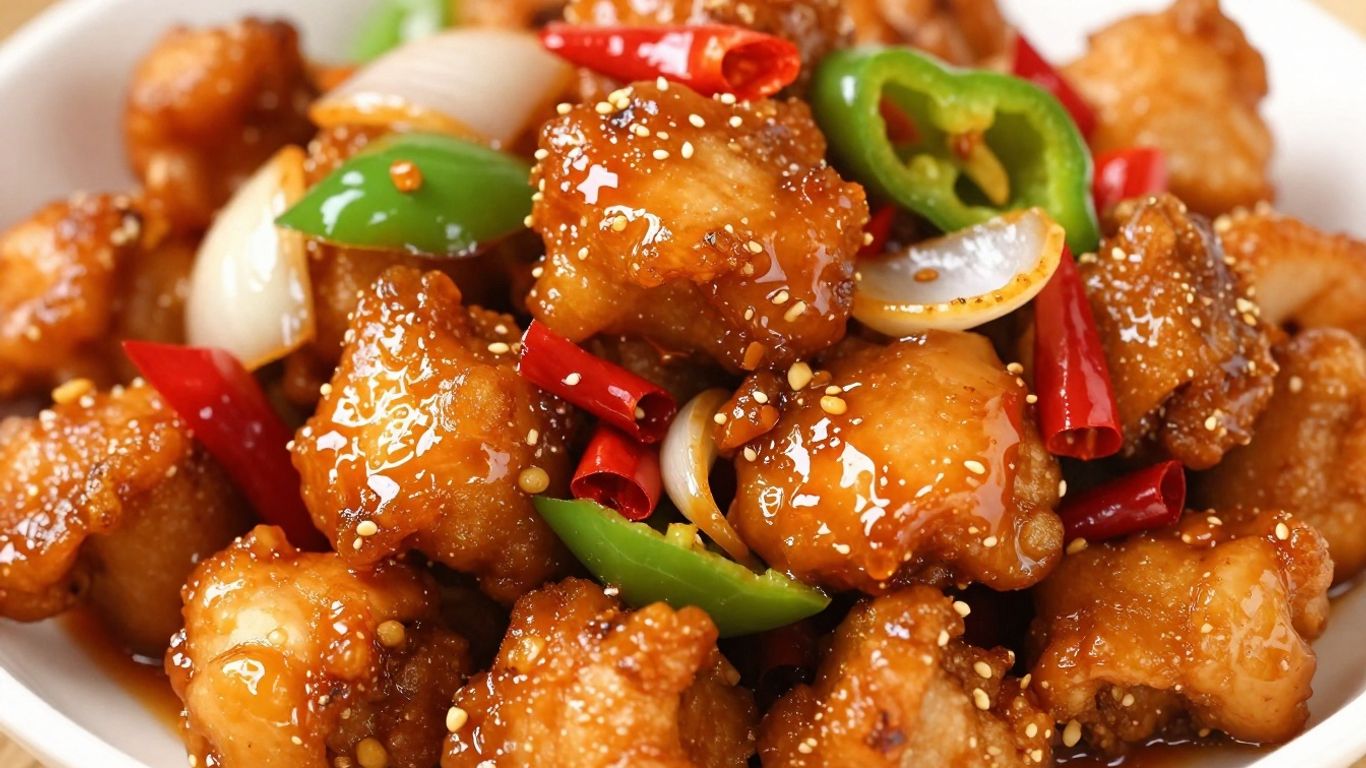
Alright, let’s get down to business with the prep work for our chilli chicken. This is where the magic really starts to happen, setting the stage for that amazing flavor and texture we’re aiming for.
Selecting and Cutting the Chicken
First things first, the chicken. You want to use boneless, skinless chicken pieces. Thighs are usually my go-to because they stay nice and juicy, even after frying. But breast meat works too if that’s what you have on hand. The key is to cut it into uniform, bite-sized pieces. This ensures everything cooks evenly and makes it easier to eat.
- Aim for pieces about 1-inch square.
- Trim off any excess fat.
- If using breast meat, consider cutting slightly smaller pieces as it can dry out faster.
Marinating for Deeper Flavor
Don’t skip this step! Marinating the chicken is super important for getting that flavor to really soak in. It doesn’t need to be complicated. A simple mix of soy sauce, maybe a little bit of rice wine or even just some salt and pepper, will do wonders. Let it sit for at least 30 minutes, or even longer if you have the time. The longer it marinates, the more flavor it absorbs.
Here’s a basic marinade you can try:
- 2 tablespoons soy sauce
- 1 teaspoon sesame oil
- 1/2 teaspoon black pepper
- (Optional) 1 teaspoon grated ginger
Just toss the chicken pieces in this mixture and let them hang out in the fridge.
Prepping Essential Aromatics and Vegetables
While the chicken is marinating, you can get your other ingredients ready. This is where we chop up all those flavor-packed aromatics and any veggies you might want to add. Having everything prepped and ready to go makes the actual cooking process so much smoother. You don’t want to be frantically chopping garlic while your sauce is burning!
- Garlic: Mince about 4-6 cloves. More if you’re a big garlic fan.
- Ginger: Grate or finely mince about a 1-inch piece.
- Onions: Slice one large onion into wedges or dice it.
- Chillies: For that signature heat, chop up a few green chillies. You can adjust the amount based on how spicy you like it. Some recipes also call for dried red chillies, which you’ll typically fry separately.
- Green Onions: Chop some green onions for garnish and a bit of fresh flavor at the end.
Having all these bits and bobs ready means you can just toss them into the wok when the time is right, creating that authentic Chilli Chicken flavor without any stress.
Achieving Crispy Chicken Perfection
Alright, let’s talk about getting that chicken just right. Nobody wants soggy bits in their chilli chicken, right? The goal here is a satisfying crunch that holds up even after it’s coated in that delicious sauce. It’s not super complicated, but a few things make a big difference.
The Art of Dredging with Flour
This is where the magic starts. You want to coat your chicken pieces evenly in flour. This isn’t just about making it stick; the flour creates a barrier that helps the chicken crisp up beautifully when it hits the hot oil. Make sure every piece gets a good, even coating. Don’t be shy with it!
Here’s a quick rundown on how to get that coating just right:
- Pat Dry: Before you even think about flour, make sure your chicken pieces are patted completely dry with paper towels. Moisture is the enemy of crispiness.
- Season First: Lightly season your chicken with salt and pepper before dredging. This adds a base layer of flavor.
- Flour Power: Place your seasoned chicken in a bowl with all-purpose flour. Toss gently until each piece is well-coated. You can add a pinch of garlic powder or paprika to the flour for extra flavor if you like.
- Shake Off Excess: Gently shake off any excess flour. Too much flour can make the coating gummy instead of crispy.
Frying in Batches for Optimal Crispness
This is a big one, and honestly, it’s where a lot of people go wrong. You absolutely cannot just dump all your floured chicken into the pan at once. The pan will get too crowded, the oil temperature will drop, and you’ll end up with steamed, greasy chicken instead of crispy perfection. Patience is key here.
Think of it like this:
- Don’t Overcrowd: Fry only 3-4 pieces at a time, depending on the size of your pan. You need space for the oil to circulate around each piece.
- Maintain Heat: Frying in batches allows the oil to stay hot, which is what you need for that quick, crispy sear.
- Drain Well: As each batch finishes, remove the chicken with a slotted spoon and place it on a wire rack set over a baking sheet. This lets any excess oil drip away, keeping the chicken crisp.
Ensuring Golden Brown and Tender Results
When you’re frying, you’re looking for that perfect balance: a golden-brown, crunchy exterior and a juicy, tender inside. The flour coating helps achieve the crispiness, but the cooking time and temperature are what ensure the chicken is cooked through without drying out.
- Medium-High Heat: Keep your oil at a steady medium-high heat. Too low and it gets greasy; too high and the outside burns before the inside cooks.
- Watch the Color: Aim for a deep golden brown. This usually takes about 3-5 minutes per side, but it can vary.
- Internal Temperature: If you’re unsure, use a meat thermometer. Chicken is safely cooked when it reaches an internal temperature of 165°F (74°C).
The secret to perfectly fried chicken isn’t just about the heat of the oil, but also about giving each piece enough space to cook evenly. Overcrowding the pan is the fastest way to ruin that crispy texture you’re aiming for. So, take your time, fry in batches, and your chicken will thank you for it.
By following these steps, you’ll get chicken that’s wonderfully crispy on the outside and delightfully tender on the inside, ready to soak up all that amazing chilli sauce.
Crafting The Signature Chilli Chicken Sauce
Building the Flavor Base with Aromatics
This is where the magic really starts to happen. You’ve got your crispy chicken ready, but it needs a sauce that’s going to tie everything together. We’re talking about building layers of flavor, and it all begins with those aromatics. Think finely chopped garlic and ginger, maybe some onions too, sautéed until they’re fragrant and just starting to soften. This isn’t about browning them to a crisp; it’s about coaxing out their natural sweetness and aroma. A little bit of oil in the pan, medium heat, and just a minute or two is usually all it takes. Don’t let them burn, though – burnt garlic is a sad, bitter thing.
Combining Sauces for Sweet and Savory Notes
Now for the heart of the sauce: the liquids. This is where you balance the sweet and the savory. A good starting point is soy sauce for that salty, umami depth. Then, you’ll want something for sweetness – a touch of sugar or even a bit of honey works well. For a bit of tang and complexity, a splash of rice vinegar or even some ketchup can be surprisingly effective. Some recipes call for oyster sauce or hoisin sauce, which add a wonderful richness and a hint of spice. The key here is to taste as you go. You’re aiming for a sauce that’s not too salty, not too sweet, but just right.
Here’s a basic ratio to get you started, but feel free to adjust:
| Ingredient | Amount (approx.) | Notes |
|---|---|---|
| Soy Sauce | 2-3 Tbsp | For saltiness and umami |
| Sugar/Honey | 1-2 tsp | For sweetness |
| Rice Vinegar | 1 tsp | For a touch of tang |
| Ketchup/Hoisin | 1 Tbsp | For depth and complexity |
| Water/Broth | 2-3 Tbsp | To adjust consistency |
Thickening the Sauce to Perfection
Once your sauce base is tasting good, it’s time to give it some body. A common and effective way to do this is with a cornstarch slurry. Just mix a tablespoon or two of cornstarch with an equal amount of cold water until it’s smooth. Pour this into your simmering sauce while whisking constantly. You’ll see it thicken up pretty quickly. Keep whisking for about a minute until it coats the back of a spoon nicely. If it gets too thick, you can always add a little more water or broth to thin it out. The goal is a sauce that clings to the chicken without being gloopy.
Bringing It All Together
You’ve prepped, coated, fried, and simmered—it’s finally time to pull your homemade chili chicken into a complete and seriously tasty meal. Getting this last bit right absolutely matters, as it’s what gives you that restaurant-level finish without ever leaving your kitchen.
Gently Coating the Chicken
This part honestly makes all the difference. Don’t just dump the fried chicken right into the hot sauce—it’ll get soggy in no time. Instead, take things slow:
- Place the chicken in a large mixing bowl first.
- Gradually ladle in the warm chili sauce, tossing gently with tongs or a wide spatula. You want every piece glazed but not drenched.
- Work in smaller batches if needed—you’ll be amazed at how crisp the chicken stays this way.
Take your time when combining the crispy bites and glossy sauce. The goal isn’t to drown or smother, but to gently coat so each piece still has that irresistible crunch.
Serving Suggestions for a Complete Meal
How you serve chili chicken can really set the mood—whether it’s a quick weeknight meal or something a little fancier for friends. Try these easy serving ideas:
- Spoon chili chicken over hot, steamed jasmine or basmati rice
- Pile it onto a platter with stir-fried bell peppers and onions mixed in
- Wrap in fresh lettuce leaves for something light and refreshing
Or, if you’re running short on time, just eat it straight from the bowl—no judgment here.
Garnishing for Visual Appeal and Freshness
You know what brings the whole thing up a notch visually (and adds great flavor)?
- Sprinkle chopped green onions or cilantro over the top for freshness
- Scatter toasted sesame seeds for a bit of crunch and a hint of nutty flavor
- Add a few thin slices of fresh red chili or bell pepper if you want a little color pop
If you’re into little final touches, this table sums up the top garnishes and what they add:
| Garnish | Flavor Boost | Visual Appeal |
|---|---|---|
| Green onion | Mild, fresh | Bright green |
| Cilantro | Herbal, citrus | Deep green |
| Red chili slices | Crisp, spicy | Vibrant red |
| Sesame seeds | Nutty | Subtle white |
Taking a few moments to garnish not only makes it more photogenic (for your next group chat brag), but it really does add a nice aroma and texture too.
So go on—bring everything together and enjoy your batch of chili chicken while it’s still steaming and crisp. It’s the best part of the whole process, trust me.
Tips for Elevating Your Chilli Chicken
Homemade chilli chicken can be amazing, but there are a few things you can do to make sure your dish is even better than what you get from takeout. Even small tweaks in technique or ingredient choice can have a huge impact on both taste and texture. Here are a few practical tips to help you along the way.
Adjusting Spice Levels to Your Liking
Not everyone has the same tolerance or love for heat, so don’t feel stuck with what you see in recipes.
- Add or remove fresh green chilies as needed; slice in half and taste a bit before tossing in.
- If you’re after a gentler burn, try using a milder sweet chili sauce and cut down on dried chilies.
- For more fire, toss in some red pepper flakes or use a spicier chili paste.
| Chili Type | Heat Level | How to Use |
|---|---|---|
| Dried cayenne | High | Toast in oil at start |
| Fresh green chili | Medium | Add with onions/veggies |
| Sweet chili sauce | Low–Medium | Use as base for sauce |
When in doubt, start with less heat—you can always add more, but it’s tough to fix too much spiciness once it’s in the pan.
Incorporating Quick-Cooking Vegetables
Chilli chicken isn’t just about the protein. Crisp, sweet vegetables can bring a whole other dimension to your meal. Think:
- Bell peppers, cut into strips, tossed in for the last few minutes of cooking
- Thinly sliced onions that caramelize quickly
- Snap peas or snow peas for crunch
- Sliced carrots or baby corn for color and texture
Not only do veggies add flavor and crunch, but they turn your chilli chicken into a more balanced dish. If you’re looking for ideas, you can serve it up with simple stir-fried green vegetables, just like at a restaurant, as mentioned in the restaurant-style crispy chilli chicken tip.
The Importance of Fresh Ingredients
This sounds basic, but don’t overlook it. Fresh ginger, garlic, and green onions will always outperform the dried or pre-chopped stuff. Here’s why:
- Fresh aromatics give brighter flavors—striking, not dull or musty
- Using fresh chicken (not previously frozen if you can help it) leads to juicier, more tender results
- Real, freshly ground black pepper and kosher salt matter; skip the pre-ground stuff when possible
- Choose the freshest chicken you can find; pat it dry for better browning
- Chop ginger and garlic right before using for max flavor
- Buy your veggies no more than a couple days ahead if possible
Keep these small things in mind, and your chilli chicken will taste more lively every time. Plus, you’ll get into a good groove prepping and cooking. A little practice and you’ll be making your own signature version in no time.
Enjoy Your Homemade Chilli Chicken!
So there you have it – your very own delicious chilli chicken, made right in your kitchen. It might seem like a lot of steps, but honestly, it’s totally worth it for that amazing flavor. Don’t be afraid to tweak things a bit to make it just how you like it. Whether you’re serving it up for a weeknight dinner or a get-together with friends, this dish is sure to be a hit. Now go ahead, give it a try, and enjoy every spicy, savory bite!
Frequently Asked Questions
What makes chilli chicken crispy?
To get that super crispy chicken, you need to coat it well with flour before frying. Frying the chicken in small batches, so the pan isn’t too crowded, also helps it get golden brown and crunchy instead of soggy.
Can I make the sauce less spicy?
Absolutely! If you don’t like things too hot, you can use less chili in the sauce. You could also choose a milder sweet chili sauce or even leave out some of the hotter chili peppers. Tasting as you go helps a lot!
What kind of chicken should I use?
You can use either chicken breast or thighs. Thighs tend to stay more moist and tender, but breasts work well too. Just make sure to cut the chicken into bite-sized pieces.
How do I make the sauce thicker?
The easiest way to thicken the sauce is by making a ‘slurry.’ This is just a little bit of cornstarch mixed with cold water. Pour this into the simmering sauce while stirring, and it will thicken up nicely in a minute or two.
Can I add vegetables to my chilli chicken?
Yes, you can! Quick-cooking veggies like bell peppers, onions, or snap peas are great additions. Toss them in towards the end of cooking, just long enough to heat them through so they stay a little crisp.
What’s the secret to a flavorful sauce?
The key is building layers of flavor. Start by cooking your aromatics like ginger and garlic until they smell amazing. Then, combine different sauces like soy sauce, hoisin, and a touch of sugar to get that perfect sweet and savory balance.
- How to Stop Late Night Snacking
- 20 Foods That Keep You Full Longer
- Healthy Lunch Ideas for Weight Loss
- Best Pre Run Snack for Runners
- 12 Foods for Better Sleep
- High Protein Breakfast for Weight Loss
- Discover the Delicious Tradition of Maltese Figolli This Easter
- Imqaret: A Delicious Maltese Date Pastry Recipe You Need to Try
You may also find this Nutrition Geeks guide helpful: The Ultimate Creamy Rice Pudding with Condensed Milk: A Simple & Delicious Recipe.
You may also find this Nutrition Geeks guide helpful: Perfectly Crispy Chicken Cutlets Baked in the Oven: A Simple Guide.
You may also find this Nutrition Geeks guide helpful: Mastering the Perfect Rosemary and Garlic Steak: A Flavorful Guide.
You may also find this Nutrition Geeks guide helpful: The Ultimate Guide to Making Perfect Lemon Ricotta Pancakes.