Disclosure: This post may contain affiliate links, meaning if you decide to make a purchase through my links I may earn a commission at no additional cost to you. See my disclosure for more info.
Looking for a tasty way to support your immune system? These elderberry popsicles are super simple to make right at home. They’re a great way to use up elderberry syrup and are a hit with both kids and adults, especially when you’re feeling a bit under the weather or just want a cool, healthy treat.
Key Takeaways
- Elderberry popsicles are an easy and delicious way to consume elderberry syrup, offering immune support.
- These popsicles can be made with just a few simple ingredients, like elderberry syrup and your favorite juice.
- You can customize your elderberry popsicles by adding ingredients like coconut milk for creaminess or even hidden greens.
- Homemade elderberry popsicles are a healthier alternative to store-bought options, often containing less added sugar and artificial ingredients.
- Dosage recommendations suggest one to two popsicles per day for adults and one for children during times of illness.
Understanding Elderberry Popsicles
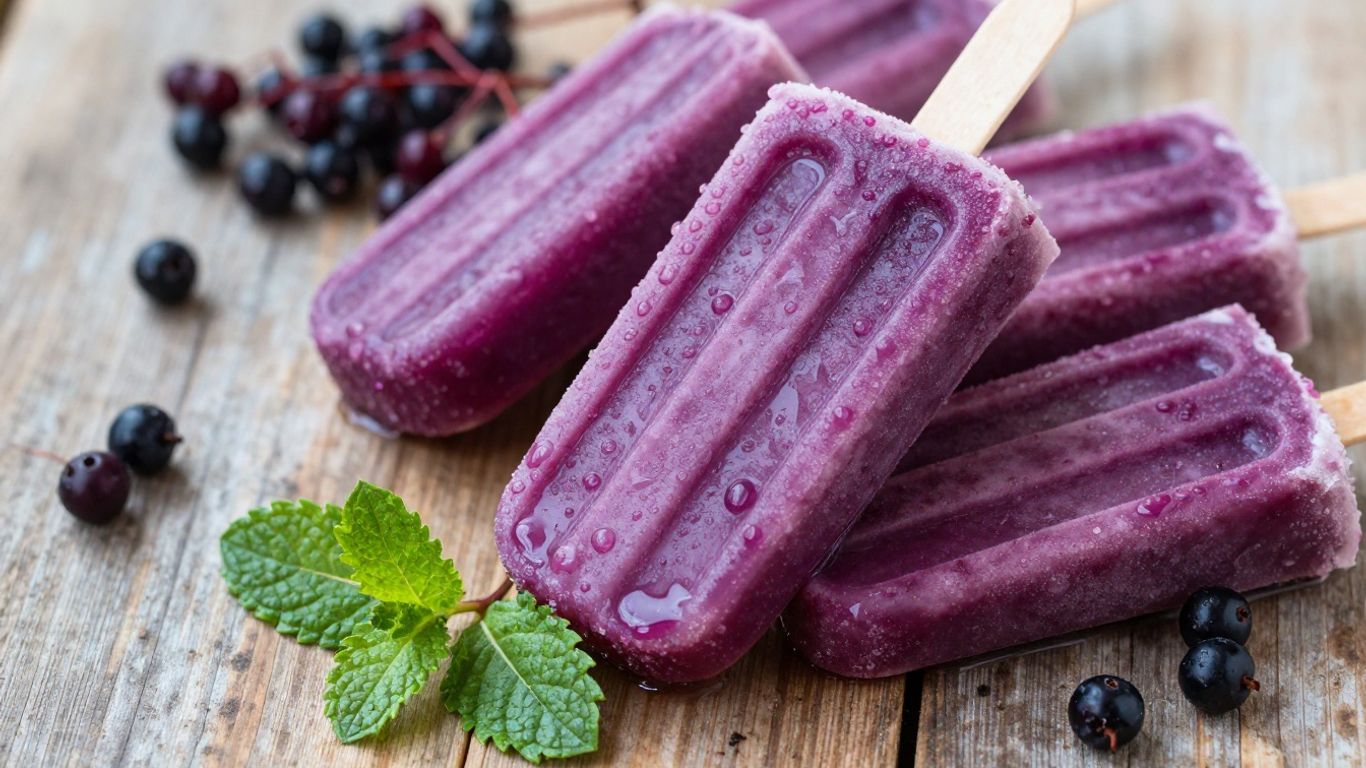
What Are Elderberry Popsicles?
Elderberry popsicles are basically a frozen treat made with elderberry syrup as a main ingredient. Think of them as a fun, cold way to get some of the good stuff from elderberries. They’re not just for hot days, though; people often make them when they feel a cold coming on or want to give their immune system a little nudge. They’re super simple to whip up, usually just a few ingredients mixed together and then frozen. Kids tend to love them, which is a big plus when you’re trying to get them to take something that’s good for them.
Explore more NutritionGeeks guides related to wellness, recovery, nutrition and active lifestyle support.
Why Choose Elderberry Popsicles for Immune Support
So, why popsicles? Well, when you’re not feeling your best, a cold treat can be really soothing, especially for a sore throat or cough. Plus, if you’re feeling under the weather, you might not be drinking as much as you should, and these can help with hydration. The main draw, though, is the elderberry itself. It’s known for its antioxidant properties, which are thought to help your body fight off those pesky germs. Making them at home means you control exactly what goes in – no weird artificial stuff, just good, simple ingredients. It’s a tasty way to support your body’s defenses.
The Benefits of Elderberries
Elderberries have been used for a long time in traditional remedies. They’re packed with things like vitamins and antioxidants that are good for you. These compounds are believed to help support your immune system. While they won’t magically cure you, they can be a helpful addition to your wellness routine, especially during cold and flu season. They’re also a good source of electrolytes, which are important for staying hydrated and keeping your body functioning well.
More NutritionGeeks Wellness Guides
Explore more NutritionGeeks guides connected to wellness, recovery, hydration, energy, sleep and active lifestyle nutrition.
Here’s a quick look at what makes them stand out:
- Antioxidants: Help protect your body’s cells.
- Vitamins: Contribute to overall health.
- Electrolytes: Aid in hydration and bodily functions.
Making your own elderberry popsicles means you get all the potential benefits of elderberries in a format that’s easy and enjoyable to consume, especially when you need it most.
Gathering Your Elderberry Popsicle Ingredients
Getting your mix of ingredients together is honestly the easiest part of making elderberry popsicles. You don’t need unusual or expensive stuff—just a few things you probably already have in the kitchen or can grab on your next grocery run. Let’s break it down so you know what to look for before you get freezing.
Essential Elderberry Syrup
- Elderberry syrup is your foundation for these pops, delivering both immune-boosting benefits and rich flavor.
- You can buy elderberry syrup at most natural food stores, online, or make your own if you’re feeling adventurous. Homemade syrup is nice because you control the sweetness and purity.
- Check your label if you buy it—make sure it’s free from unnecessary extras like artificial sweeteners or dyes.
| Type | Notes |
|---|---|
| Store-bought | Convenient but check labels |
| Homemade | Customizable, pure, cost-effective |
Choosing Your Liquid Base
Your popsicle needs more than just syrup—you’ll want a liquid to fill out that mold. Choose based on what flavors you like and what you have:
- 100% fruit juice (apple, orange, cherry, pomegranate). Go for the no-added-sugar kind.
- Coconut water, if you want something lighter.
- Plain filtered water for an ultra-mild flavor (not my first choice flavor-wise, but works in a pinch).
If you’re using juice, always check that it’s unsweetened and as close to fresh as possible—your popsicles will taste brighter and less cloying that way.
Optional Flavor and Nutrient Boosters
This is where you put your own spin on it. Not required, but these ingredients can make your elderberry popsicles even more interesting (and healthy):
- Raw honey or maple syrup (for those who want added sweetness, but don’t use for babies under 1 year old)
- Lemon or lime juice (a splash brightens up everything)
- Pinch of sea salt (for minerals and balance)
- Fresh berries or sliced fruit
- Tiny bit of grated ginger or turmeric
You don’t need a lot—just a teaspoon or so will do the trick. Remember to taste as you go, especially if you’re making a new batch or trying new add-ins.
Getting your ingredients lined up before you start makes this whole process way less stressful and a lot more fun.
Crafting Your Elderberry Popsicles
If you’re ready to get hands-on, making your own elderberry popsicles is way easier than it seems. You don’t need to be a kitchen whiz—just mix, pour, and wait. Below are three fun methods for different tastes and textures.
Simple Two-Ingredient Method
This one’s such a no-brainer, you’ll probably wonder why you haven’t tried it before. All you need are two things: elderberry syrup and your favorite juice.
To make it:
- Pour about 1 tablespoon of elderberry syrup into each popsicle mold.
- Fill the rest of the mold with a juice—apple, tart cherry, or orange all work pretty well.
- Use a popsicle stick to give the mixture a gentle swirl.
- Insert the sticks and freeze until solid, at least 4 hours.
The real magic here is that you can swap in any juice you have on hand, as long as it’s 100% pure and doesn’t have added sugar. Fresh-squeezed is always a nice touch if you’re feeling ambitious.
Adding Creaminess with Coconut Milk
Some days, a fruity popsicle just isn’t enough; you want something creamy and dreamy. Full-fat coconut milk takes your elderberry popsicles to another level.
Steps for creamy elderberry popsicles:
- Blend one can of full-fat coconut milk with 4–6 tablespoons of elderberry syrup.
- (Optional) Swap out 1/4 cup of the coconut milk for plain kefir to give your pops a little gut health kick.
- Pour the mixture into your molds and freeze for at least 3 hours.
Here’s a quick table for adjusting creaminess:
| Ingredient | For Light Cream | For Rich Cream |
|---|---|---|
| Coconut Milk | 1/2 can | 1 full can |
| Kefir (optional) | 1/4 cup | None |
| Elderberry Syrup | 4 tbsp | 6 tbsp |
The coconut milk turns these pops into almost a frozen yogurt experience, but 100% dairy-free.
Incorporating Hidden Greens
It’s not a secret that most kids (and plenty of adults) avoid greens. Here’s where your blender comes in handy. You can sneak in a handful of spinach or kale, and trust me, nobody will notice with all the berry flavor going on.
To do this:
- In a blender, add elderberry syrup, a soft handful of greens (spinach is the mildest), and your choice of juice or coconut milk.
- Blend until smooth.
- Pour into molds and freeze as usual.
A few tips for easy green pops:
- Start with a small amount of greens—a little goes a long way.
- Banana or mango add natural sweetness and help hide any bitterness.
- Always blend the mixture thoroughly so there aren’t any leafy chunks.
Sneaking greens into popsicles is a genius move for picky eaters. You get an immune boost and a dose of vitamins without the dinner-table negotiations.
Homemade elderberry popsicles are friendly for small kitchens, fussy eaters, and anyone who just wants to feel a little better while enjoying something cold on a hot day. Switch things up to suit your tastes and have fun experimenting with different combos!
Freezing and Enjoying Your Creations
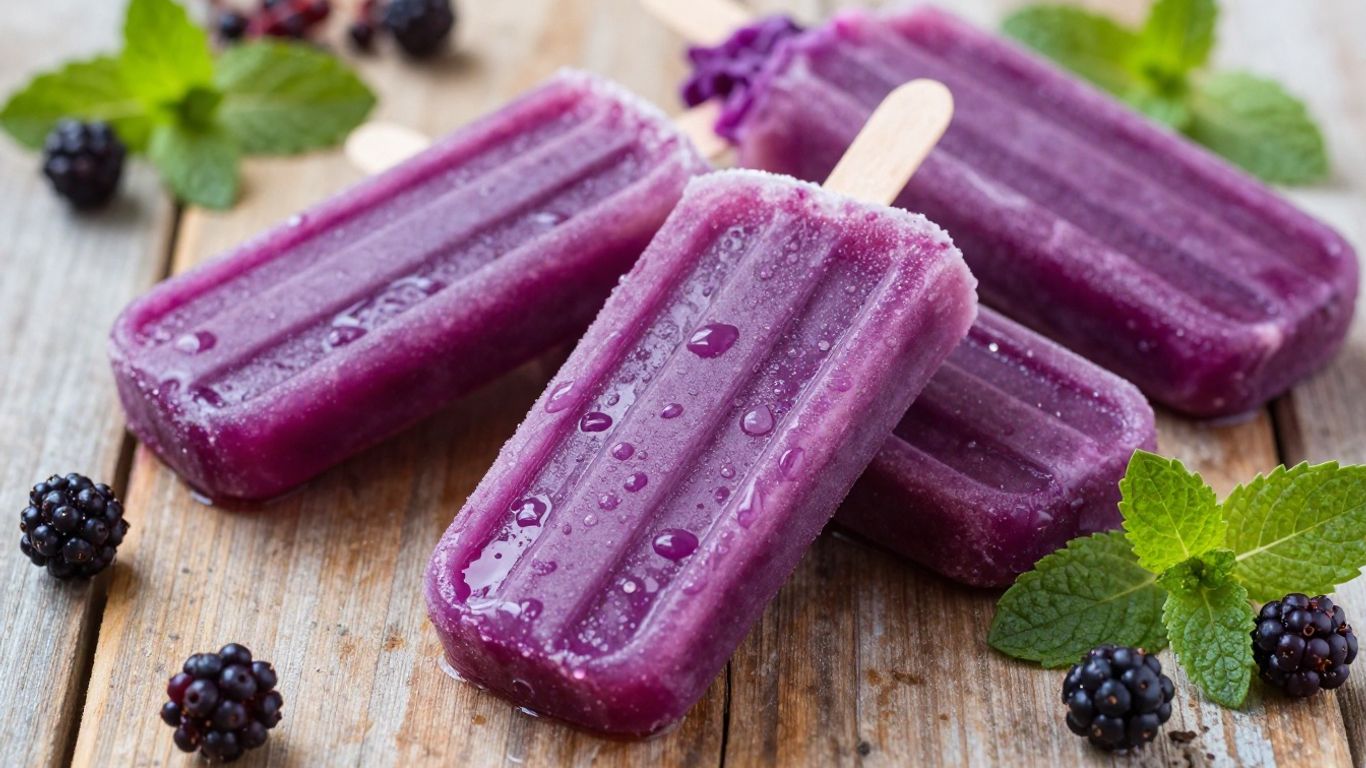
Alright, you’ve mixed up your delicious elderberry concoction, and now it’s time for the fun part: turning it into frozen treats! This is where the magic happens, transforming your liquid goodness into something you can lick and enjoy.
Popsicle Mold Essentials
First things first, you’ll need some popsicle molds. There are tons of options out there, so pick what works best for you. Silicone molds are super popular because they’re flexible and usually easy to clean – often dishwasher safe, which is a big win. If you’re more into stainless steel, those are great too; they’re durable and eco-friendly, though they can be a bit pricier. Don’t have fancy molds? No sweat! You can totally use small cups (like paper or plastic ones), shot glasses, or even muffin tins. Just remember, if you use cups or tins, you’ll need a way to keep the sticks upright. A piece of foil stretched over the top, with the sticks poked through, works like a charm.
The Freezing Process
Once your molds are filled, it’s time to freeze them. Pop them into the freezer and let them do their thing. The exact time will depend on your freezer and how full you packed the molds, but generally, you’re looking at about 4 to 6 hours, or even overnight, to make sure they’re solid. Patience is key here; nobody likes a melty, half-frozen popsicle! It’s a good idea to give the mixture a quick stir before pouring it into the molds, and sometimes another stir after they’ve been in the freezer for an hour or so can help prevent ice crystals from forming, making for a smoother texture.
Tips for Easy Removal
Getting your popsicles out of the mold can sometimes be a bit tricky. The easiest trick in the book? Run the outside of the mold under warm water for just a few seconds. Don’t go crazy with the hot water, or you’ll end up with a puddle! Just a quick dip should loosen it right up. Then, gently wiggle the popsicle stick, and it should slide right out. If you’re using popsicle sleeves, they often make removal even simpler and help keep your hands from getting sticky while you enjoy your treat.
Serving and Storing Elderberry Popsicles
Now that you’ve got your delicious elderberry popsicles all made and frozen, let’s talk about how to enjoy them and keep them around.
Dosage Recommendations
When it comes to how many popsicles are just right, it’s pretty straightforward. Think of one popsicle as a single serving of elderberry syrup. For adults, having one or two popsicles a day is a good amount, especially if you’re feeling a bit under the weather. For the little ones, one popsicle per day is usually plenty. It’s always a good idea to listen to your body, though, and adjust as needed.
Ideal Times for Consumption
These popsicles are super versatile! They’re fantastic for a quick cool-down on a hot day, obviously. But they’re also really nice when you have a sore throat or a bit of a cough; the coldness can be quite soothing. If you’re recovering from an illness and need to keep your fluids up, these are a tasty way to do that. Honestly, any time you want a little immune support in a fun, frozen treat, go for it!
Long-Term Storage Solutions
Keeping your homemade popsicles fresh is easy peasy. The best way is to just leave them in their molds and store the whole mold in the freezer. If you’ve already taken them out of the molds, that’s fine too! Just make sure they’re wrapped up well. You can use plastic wrap, foil, or even small freezer bags. This helps prevent freezer burn and keeps them tasting great. They should last for a good few months in the freezer, so you can stock up and have them ready whenever the craving or the need strikes.
Conclusion
So there you have it—making elderberry popsicles at home is honestly way easier than I expected. You just need a few simple ingredients, a popsicle mold, and a little bit of patience while they freeze. These pops are a great way to sneak in some immune support, especially if you’ve got picky kids or just want a cold treat that actually does something good for you. Plus, you can switch up the juices or sweeteners depending on what you have in the fridge. I like to keep a batch in the freezer all year round, just in case someone starts sniffling or we want a healthy snack on a hot day. Give it a try—your future self (and your immune system) will thank you!
Frequently Asked Questions
Are elderberry popsicles safe for kids?
Yes, elderberry popsicles are safe and healthy for most kids. Just remember, if your child is under 1 year old, do not use honey in the recipe. You can use maple syrup or agave instead.
How many elderberry popsicles can I eat in a day?
For adults, eating one or two elderberry popsicles a day is usually fine. For kids, one popsicle a day is enough, especially when they are not feeling well.
Can I use any kind of juice for the popsicles?
You can use almost any juice you like! Apple, orange, cranberry, and pomegranate all work great. Try to pick juices that don’t have added sugar for a healthier treat.
How do I get the popsicles out of the mold easily?
To remove the popsicles from the mold, run warm water over the outside of the mold for a few seconds. This helps loosen them so they slide out easily.
How long can I keep elderberry popsicles in the freezer?
Elderberry popsicles can be stored in the freezer for up to three months. Keep them in an airtight container or a freezer bag to prevent freezer burn.
Can I add other healthy ingredients to elderberry popsicles?
Absolutely! You can add fruits like blueberries or bananas, greens like spinach, or even a little coconut milk for creaminess. This is a fun way to add more nutrients and flavors.
- Best Supplement Bundle for Healthy Digestion and Bloating
- Best Supplement Stack for Daily Inflammation Support
- Best Daily Supplements for Runners Health: What Matters Most
- Best Supplement Stack for Inflammation and Recovery
- Best Wellness Stacks for Active Lifestyles: A Practical Guide
- Best Supplement Stack for Runners Recovery
- Best Marathon Recovery Supplement Stack for Faster Repair
- Magnesium Glycinate Benefits for Women: Sleep, Calm, and Cycle Support
You may also find this Nutrition Geeks guide helpful: Dinner Meals for Runner Recovery: 5 Easy Recipes.
You may also find this Nutrition Geeks guide helpful: The Ultimate Fall Sangria Recipe for Cozy Evenings.
You may also find this Nutrition Geeks guide helpful: The Ultimate Guide to Perfect Arroz con Leche: A Creamy Rice Pudding Recipe.
You may also find this Nutrition Geeks guide helpful: Mastering the Ultimate Pen Cai Recipe for a Festive Feast.
You may also find this Nutrition Geeks guide helpful: Mastering Carnivore Pancakes: A Simple, Delicious Recipe.
You may also find this Nutrition Geeks guide helpful: Quick & Zesty Garlic and Lemon Shrimp Pasta Recipe.
You may also find this Nutrition Geeks guide helpful: Unlock Your Health: The Surprising Benefits of Mosambi Juice.