Disclosure: This post may contain affiliate links, meaning if you decide to make a purchase through my links I may earn a commission at no additional cost to you. See my disclosure for more info.
Making your own ice cream at home might sound like a lot of work, but honestly, it’s pretty straightforward. Forget those complicated recipes you see online; this homemade ice cream recipe is designed to be simple and delicious. We’re talking about getting that creamy, rich texture that store-bought stuff just can’t match, all with ingredients you probably already have. So, grab your apron, and let’s get ready to whip up some amazing frozen treats without any fuss.
Key Takeaways
- This homemade ice cream recipe uses just five basic ingredients for a creamy, rich result.
- Preparing the ice cream maker and chilling the base in advance are important steps for texture.
- Churning the ice cream base in your machine takes about 20-30 minutes, resulting in a soft-serve consistency.
- Allowing the ice cream to freeze for at least 2 hours after churning makes it perfectly scoopable.
- Get creative with toppings like fruit, nuts, or chocolate, or try no-churn methods if you don’t have a machine.
Understanding Your Homemade Ice Cream Recipe
Making ice cream at home might seem a bit daunting, but honestly, it’s way simpler than you think. Forget those complicated recipes that call for a dozen ingredients and a chemistry degree. We’re going for something straightforward here, something that gets you to that creamy, delicious result without a fuss.
The Allure of Homemade Ice Cream
There’s just something special about ice cream you make yourself. For starters, you know exactly what’s going into it. No weird preservatives or unpronounceable ingredients. Plus, the flavor is usually way better than what you get from the store. It’s a treat you can feel good about. It’s also a fantastic way to get creative, especially if you have kids around. You can experiment with flavors and see what everyone likes best.
Explore more NutritionGeeks guides related to wellness, recovery, nutrition and active lifestyle support.
Making ice cream at home means you’re in charge of the ingredients. You can skip the high fructose corn syrup and artificial stuff, opting instead for real cream, sugar, and your favorite flavorings. It’s a healthier, tastier alternative.
Why This Recipe Stands Out
This particular recipe is designed for simplicity and fantastic texture. We’re skipping the eggs, which often complicate other recipes, and focusing on a few key ingredients that work together to create that classic creamy mouthfeel. It’s a base that’s not only delicious on its own as a vanilla ice cream but also acts as a perfect canvas for all sorts of other flavors and mix-ins. You get that rich, indulgent taste without a ton of effort.
More NutritionGeeks Wellness Guides
Explore more NutritionGeeks guides connected to wellness, recovery, hydration, energy, sleep and active lifestyle nutrition.
Essential Ingredients for Creamy Results
To get that perfect creamy texture, a few things are non-negotiable. We need fat, and that comes from heavy cream and whole milk. Don’t skimp on these; using lower-fat versions will likely result in an icier treat. Sugar is, of course, for sweetness, but it also plays a role in texture by lowering the freezing point. And finally, a good quality vanilla extract brings that warm, comforting flavor that makes vanilla ice cream so beloved. A tiny pinch of salt might seem odd, but it really makes all the other flavors pop.
Here’s a quick look at what you’ll need:
- Heavy Cream: For richness and that smooth texture.
- Whole Milk: Contributes to creaminess without making it too heavy.
- Sugar: Sweetens and affects the final consistency.
- Vanilla Extract: The star flavor.
- Salt: A small amount to enhance flavors.
Crafting the Perfect Ice Cream Base
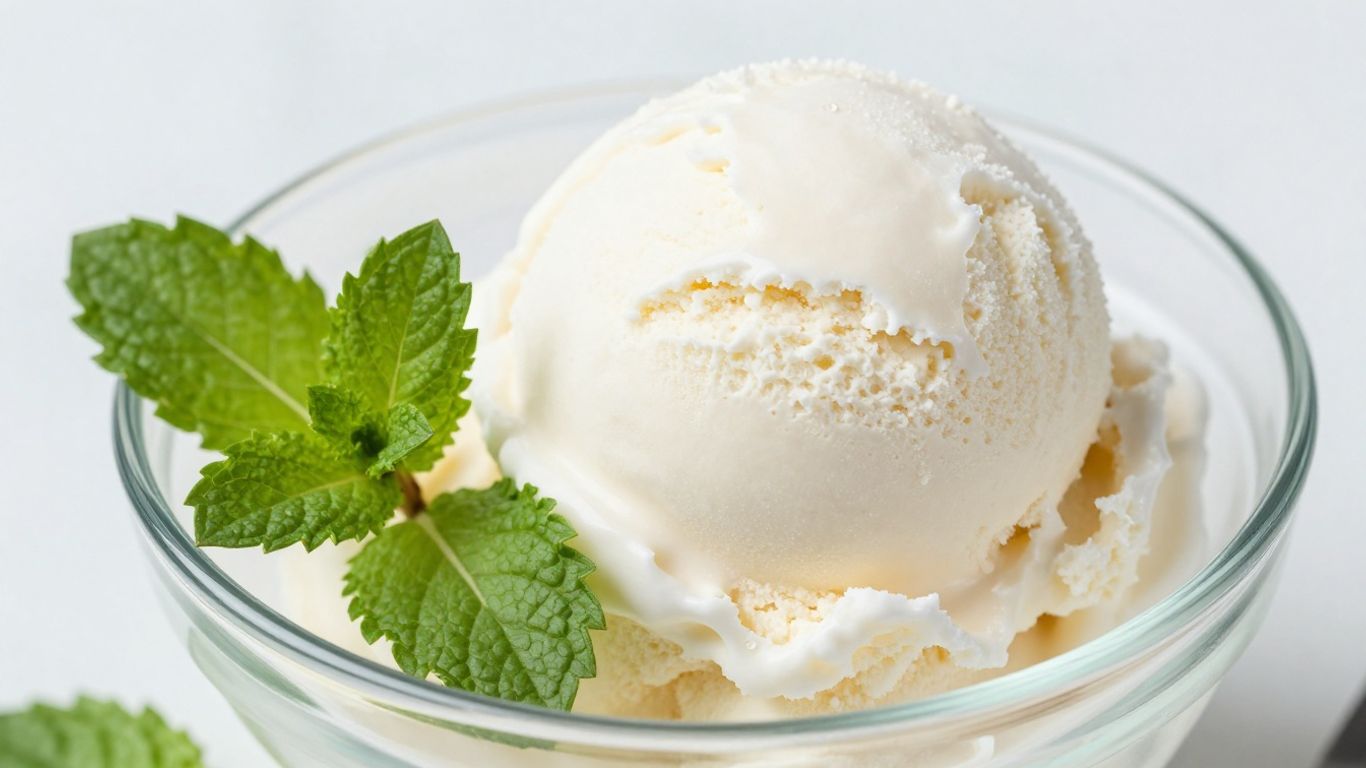
Alright, let’s get down to business with the heart of our homemade ice cream: the base. This is where all the magic starts, and getting it right means the difference between a good scoop and a truly amazing one. It’s not complicated, but a few key steps make all the difference.
Preparing the Ice Cream Maker
Before we even think about mixing ingredients, let’s talk about your ice cream maker. Most machines have a bowl that needs to be frozen solid. Seriously, solid. This usually means at least 12-24 hours in the freezer. Don’t skimp on this! If the bowl isn’t cold enough, your ice cream won’t churn properly, and you’ll end up with a soupy mess instead of creamy goodness. Check your machine’s manual for specific instructions, but a good rule of thumb is to keep that bowl in the back of your freezer where it’s coldest.
Warming and Dissolving Ingredients
For a super smooth base, we want everything to be well combined. This often involves gently heating some of your ingredients. Think about your dairy – milk, cream, and sugar. Warming them together helps the sugar dissolve completely. If the sugar isn’t dissolved, you can end up with a grainy texture, which is definitely not what we’re going for. You don’t need to boil anything; just warm it enough so that the sugar disappears into the liquid. This is also a good time to add any other flavorings that need to dissolve, like cocoa powder or instant coffee.
Chilling the Base for Optimal Texture
Once your base is mixed and any warming is done, it needs to get cold. Like, really cold. This is another super important step that many people rush. The colder your base is before it goes into the ice cream maker, the faster it will freeze and the smaller the ice crystals will be. Smaller ice crystals mean smoother ice cream. So, after you’ve mixed everything, cover the base and pop it in the refrigerator. I usually let mine chill for at least 4 hours, but overnight is even better. The colder the base, the creamier your ice cream will be.
A little trick for extra scoopability: adding a tablespoon or two of alcohol, like vodka, or a bit of corn syrup can help lower the freezing point. This means your ice cream won’t freeze rock solid, making it easier to scoop straight from the freezer. Just don’t go overboard, or it might not freeze properly at all!
The Churning Process for Homemade Ice Cream
Alright, so you’ve got your ice cream base all chilled and ready to go. This is where the magic really happens, turning that liquid into something scoopable. Whether you’re using a fancy machine or just a bowl and some patience, the goal is the same: get air into the mix and freeze it evenly.
Using Your Ice Cream Maker
If you’ve got one of those countertop ice cream makers, now’s its time to shine. Make sure the bowl is properly frozen – this is super important for getting the right texture. Pour your chilled base into the machine while it’s running. The paddle inside churns the mixture, scraping the sides as it freezes. This constant motion prevents large ice crystals from forming, which is key to that smooth, creamy feel.
- Pre-freeze the machine’s bowl: This usually takes at least 24 hours, so plan ahead!
- Pour the chilled base into the running machine: Don’t pour it into a stationary machine.
- Let it churn: Most machines take about 20-30 minutes to get the ice cream to a soft-serve consistency.
Achieving the Right Consistency
When the churning is done, your ice cream won’t be rock solid. It’ll be more like a thick milkshake or soft-serve ice cream. This is exactly what you want! It’s at its creamiest right out of the churner. Trying to get it rock hard in the machine will just make it icy.
The texture right after churning is often called ‘churned’ or ‘soft-serve’ consistency. It’s perfectly normal and means your machine did its job well. It’s ready for its final freeze.
The Importance of Post-Churn Freezing
That soft-serve consistency is delicious, but it’s not quite ready for a cone. You need to let it firm up in the freezer. Transfer the churned ice cream to an airtight container. Pressing some plastic wrap or parchment paper directly onto the surface before sealing the lid helps prevent ice crystals from forming on top. Then, pop it into the coldest part of your freezer for at least 2-4 hours, or until it’s firm enough to scoop.
| Step | Action |
|---|---|
| 1. Transfer | Scoop churned ice cream into an airtight container. |
| 2. Cover Surface | Press plastic wrap or parchment directly onto the ice cream. |
| 3. Seal Container | Secure the lid tightly. |
| 4. Freeze | Place in the freezer for 2-4 hours until firm enough to scoop. |
This final freezing step is what gives you those nice, firm scoops you can actually serve. Don’t skip it!
Elevating Your Homemade Ice Cream
Classic Topping Inspirations
Sure, your homemade ice cream is fantastic on its own, but why stop there? A few simple additions can turn a good scoop into a truly memorable dessert. Think about the classics first. A drizzle of warm hot fudge or a swirl of salted caramel sauce is always a winner. And who can resist a dollop of freshly whipped cream? These familiar favorites are popular for a reason – they just work!
Creative Mix-In Ideas
Now, let’s get a little more adventurous. The best time to add mix-ins is right after churning, when the ice cream is still soft and pliable. This helps them distribute evenly without getting too chunky. You’ll want to fold in about 2 to 2 1/2 cups of your chosen goodies. Consider things like crumbled chocolate chip cookies, chunks of brownie, or even bits of candy bar. The key is to cut them into manageable pieces so they don’t overwhelm the ice cream.
Fruity and Nutty Additions
For a brighter, fresher taste, fruit is a fantastic choice. You can use fresh berries, diced peaches, or even a simple fruit compote. Just make sure any fruit is well-drained if it’s in syrup to avoid making your ice cream watery. Nuts add a lovely crunch and depth of flavor. Toasted almonds, chopped pecans, or even some shredded coconut can really change the texture and taste profile of your ice cream. Just remember to chop them finely so they’re easy to eat.
Here’s a quick guide to some popular additions:
| Category | Examples |
|---|---|
| Sauces | Hot Fudge, Caramel, Strawberry Compote |
| Chocolates | Mini Chips, Brownie Chunks, Cookie Crumbles |
| Fruits | Fresh Berries, Diced Peaches, Cherries |
| Nuts & Other | Toasted Almonds, Pecans, Shredded Coconut |
Adding mix-ins is where you can really let your personality shine. Don’t be afraid to experiment with combinations that sound good to you. Sometimes the most unexpected pairings turn out to be the most delicious.
Alternative Methods for Homemade Ice Cream
So, you’re craving some homemade ice cream but don’t have one of those fancy ice cream makers? No worries at all! It turns out you can still whip up some seriously delicious frozen treats using a few different approaches. These methods might take a little more hands-on effort, but the results can be just as fantastic, and honestly, sometimes it’s kind of fun to get a little messy.
No-Churn Ice Cream Techniques
This is probably the most popular way to go if you’re machine-less. The basic idea is to use ingredients that help create a creamy texture without constant churning. Often, this involves sweetened condensed milk, which is already thick and sweet, and whipped cream. You just fold them together with your chosen flavorings, pour it into a container, and let the freezer do the rest. It’s surprisingly simple and yields a rich, smooth ice cream.
The Freezing and Stirring Method
This method is a bit more involved but gives you more control over the texture. You start by pouring your ice cream base into a shallow, freezer-safe dish. Then, you pop it in the freezer. The trick here is to take it out every 30 minutes or so and give it a really good stir with a spatula or whisk. You’re essentially breaking up those ice crystals as they form, which helps keep the ice cream from getting too icy. You’ll repeat this stirring process for a few hours until it reaches your desired consistency. It’s a bit of a workout, but worth it!
Fun with the Plastic Bag Method
This one is a blast, especially if you have kids around. You’ll need a couple of resealable plastic bags – one small and one larger. Pour your ice cream mixture into the smaller bag, squeeze out all the air, and seal it tight. Then, put that bag inside the larger bag, fill the larger bag with ice and a good amount of salt (the salt makes the ice super cold), seal that one up too, and then… shake it! You’ll shake and massage the bags for about 5 to 10 minutes. The salt and ice work together to freeze the mixture inside the bag. It’s a fun science experiment that ends with a tasty reward.
Storing and Serving Your Creation
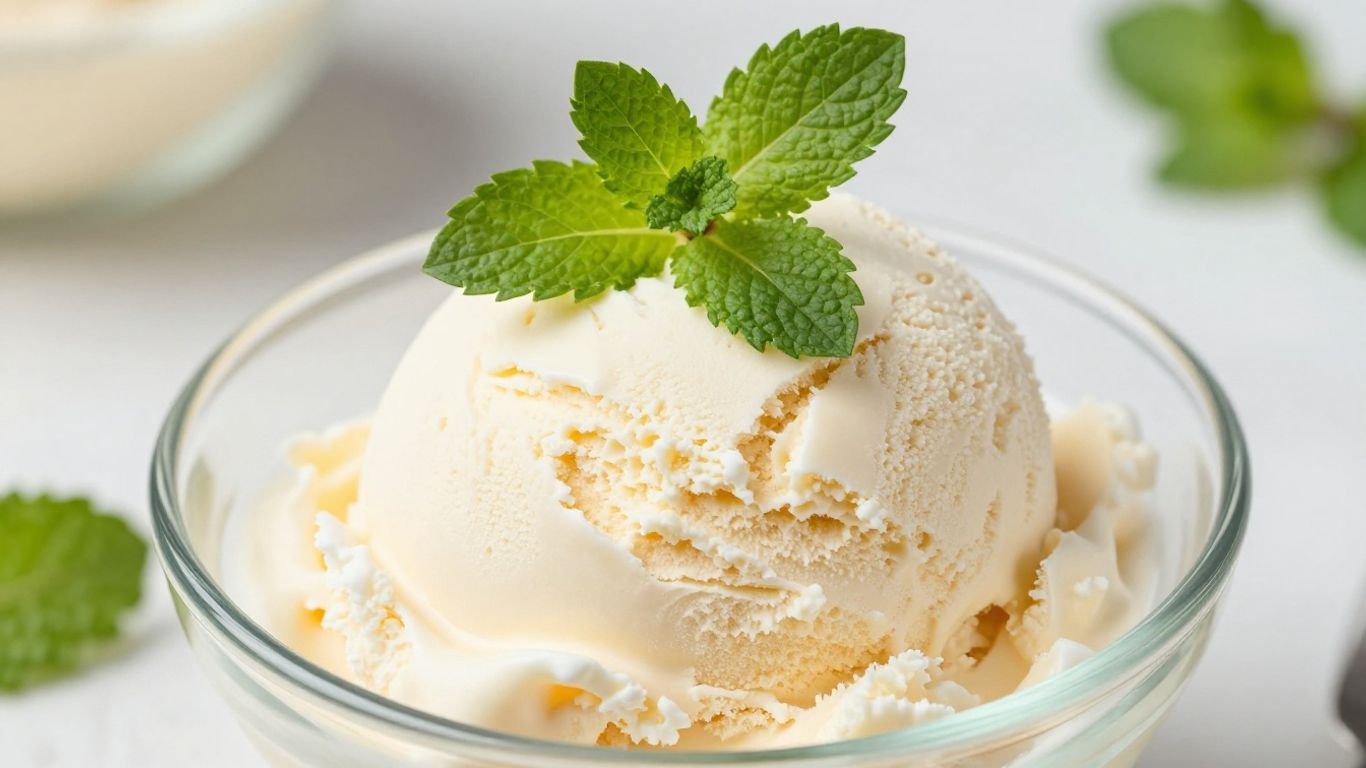
So, you’ve gone through the whole process, and now you have a beautiful, creamy batch of homemade ice cream. Awesome! But what do you do with it now? Getting it from the ice cream maker into a state where you can actually enjoy it, and keeping it that way, is pretty important.
Proper Ice Cream Storage
Once your ice cream is churned to perfection, it’s time to get it ready for its final chill. The best way to store it is in an airtight container. This really helps to stop those annoying ice crystals from forming, which can make your ice cream a bit icy instead of smooth. You can use a dedicated ice cream container, or just a good old freezer-safe plastic or glass container with a tight-fitting lid. Some people like to press a piece of plastic wrap or parchment paper directly onto the surface of the ice cream before putting the lid on. It’s a little extra step, but it can make a difference in keeping it super smooth.
Generally, homemade ice cream is best enjoyed within about two weeks of making it. It will still be edible after that, but the texture might start to change.
Here’s a quick rundown:
- Container: Use an airtight, freezer-safe container.
- Surface Protection: Press plastic wrap or parchment paper onto the ice cream’s surface.
- Freezing Time: Allow at least 2-4 hours for it to firm up properly before scooping.
- Duration: Aim to consume within 2 weeks for the best texture.
Serving Suggestions and Pairings
This is where the fun really begins! Your homemade ice cream is fantastic all on its own, of course. A simple scoop of your favorite flavor is a treat. But it also plays really well with other desserts.
Think about:
- Warm Baked Goods: A scoop on top of a warm slice of apple pie, a brownie, or a piece of cobbler is just heavenly.
- Fruit: Fresh berries, grilled peaches, or a dollop of fruit compote can add a lovely contrast.
- Sauces and Toppings: A drizzle of hot fudge, caramel sauce, or a sprinkle of chopped nuts can take it to the next level.
Tips for Scoopable Ice Cream
Sometimes, after a few days in the freezer, homemade ice cream can get a bit too hard to scoop easily. It’s a common issue! The alcohol content in some recipes can help keep it softer, but even then, it can firm up.
The trick is often just letting it sit out for a few minutes before you plan to serve it. A little bit of time at room temperature is usually all it takes to soften it up just enough for easy scooping. Don’t let it sit out too long, though, or you’ll end up with a melty mess!
If you’re really struggling, you can try running your ice cream scoop under hot water for a few seconds before scooping. It helps cut through even the firmest ice cream.
Enjoy Your Homemade Creation!
So there you have it! Making your own ice cream at home is totally doable, and honestly, way more fun than you might think. Whether you stick to the simple vanilla or go wild with mix-ins, the result is always a treat that tastes so much better than anything from the store. It’s a great way to spend an afternoon, especially if you get the kids involved. Now go ahead, whip up a batch, and enjoy that creamy, delicious goodness. You earned it!
Frequently Asked Questions
What are the basic ingredients for homemade ice cream?
You’ll typically need a few key things: heavy cream for richness, whole milk for a smooth texture (avoid low-fat versions!), sugar for sweetness, and vanilla extract for that classic flavor. A little salt helps make all the flavors taste even better.
Do I really need an ice cream maker?
While an ice cream maker makes the process super easy and gives you the creamiest results, you can still make delicious ice cream without one! There are methods like the ‘no-churn’ technique using condensed milk and whipped cream, or the freezing and stirring method where you break up ice crystals as it freezes.
Why is chilling the ice cream base important?
Chilling the base before you churn it is a crucial step. It needs to be really cold, usually for at least a couple of hours or even overnight. This helps the ice cream maker do its job better, leading to a smoother, creamier texture instead of an icy one.
What’s the difference between this recipe and custard-based ice cream?
Some ice cream recipes use eggs or egg yolks to make a custard base, which adds a lot of richness. This recipe skips the eggs to keep things super simple and quick to prepare. It’s still incredibly delicious and creamy!
Can I add other flavors or mix-ins to this recipe?
Absolutely! This vanilla recipe is a fantastic starting point. Once the ice cream is churned, you can gently fold in things like chocolate chips, cookie dough bits, brownie chunks, fresh fruit, or drizzles of caramel or fudge sauce. Get creative!
How should I store homemade ice cream?
Store your ice cream in an airtight container in the freezer. Pressing a piece of plastic wrap or foil directly onto the surface of the ice cream before sealing the container can help prevent ice crystals from forming. It’s best enjoyed within a month.
You may also find this Nutrition Geeks guide helpful: Discover the Authentic Taste of Maltese Pastizzi: A Culinary Journey.
You may also find this Nutrition Geeks guide helpful: Fall-Off-The-Bone Braised Lamb Shanks: A Simple & Savory Recipe.