Disclosure: This post may contain affiliate links, meaning if you decide to make a purchase through my links I may earn a commission at no additional cost to you. See my disclosure for more info.
Are you looking for delicious Italian recipes like vanilla bean panna cotta to prepare for yourself and guests? I hope that this post, our fitness YouTube channel and the resources located here will be what you were looking for. Welcome to Nutrition Geeks. I am so glad you have made it here.
Making a vanilla bean panna cotta at home might sound fancy, but it’s actually pretty straightforward. This dessert is basically cooked cream, thickened with a little gelatin. It’s super smooth and creamy, and when you use a real vanilla bean, the flavor is just incredible. You can whip this up ahead of time, which is always a win when you’re planning a dinner party or just want a nice treat waiting for you.
Key Takeaways
- Panna cotta is an Italian dessert made from sweetened cream thickened with gelatin, not eggs.
- Using a real vanilla bean pod, not just extract, gives the best flavor and those pretty little specks.
- It’s important to cool the mixture before chilling to prevent separation and keep the vanilla specks evenly spread.
- Panna cotta is a great make-ahead dessert, perfect for entertaining.
- You can get creative with toppings, from fresh fruit to compotes, to change up the flavor.
Understanding Vanilla Bean Panna Cotta
What is Panna Cotta?
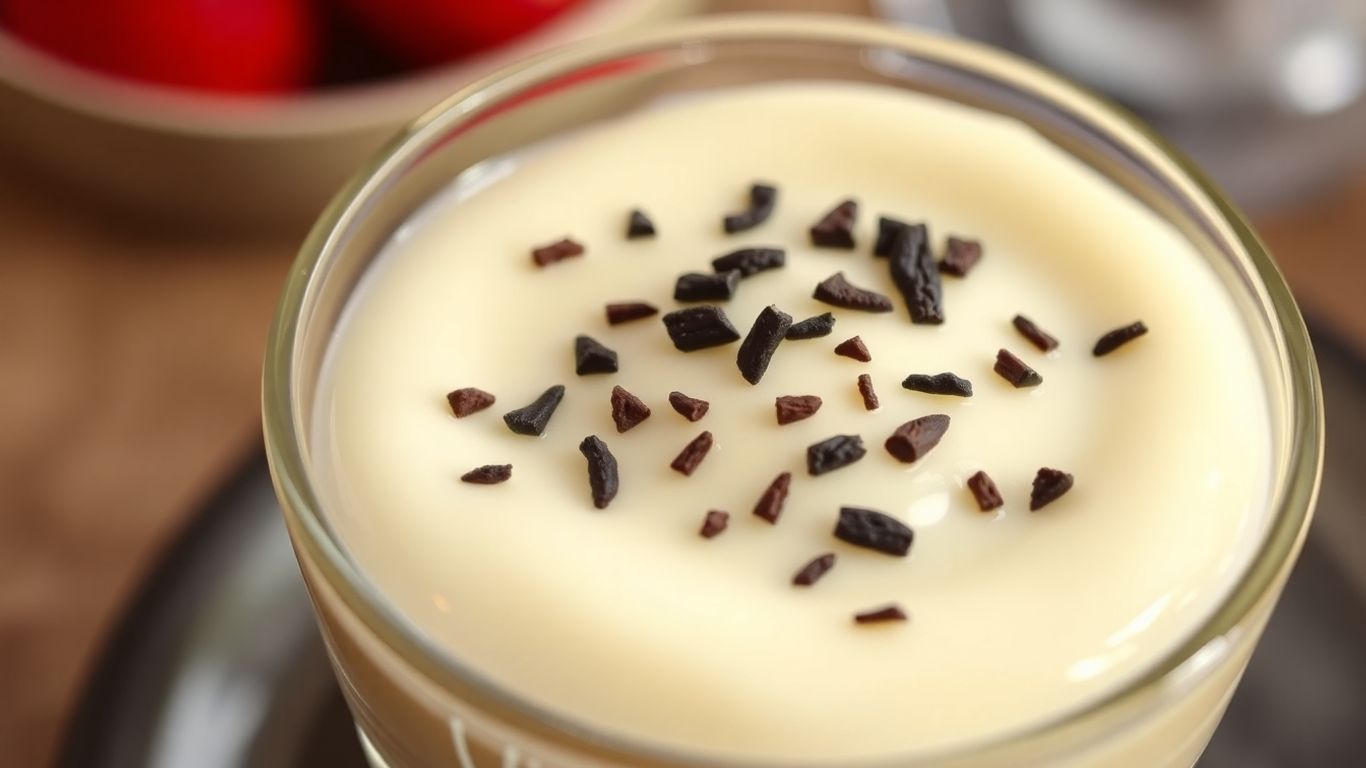
Panna cotta, which literally means “cooked cream” in Italian, is a dessert that’s pretty straightforward. It’s basically a sweetened cream mixture that’s set using gelatin. Unlike custards that use eggs, panna cotta relies on gelatin to get that lovely, wobbly texture. It’s a simple dessert, really, but when done right, it’s incredibly satisfying. You can make it in molds and unmold it, or just serve it right up in little glasses, which is what I usually do. It’s a nice change of pace from heavier desserts, and it’s super easy to make ahead of time.
Explore more NutritionGeeks guides related to wellness, recovery, nutrition and active lifestyle support.
The Role of Vanilla Bean
When we talk about vanilla bean panna cotta, the vanilla bean itself is the star. Using a real vanilla bean, with its tiny black seeds, gives you a much richer flavor and a more interesting look than just using vanilla extract. You get these little flecks throughout the cream, which is pretty neat.
To get the most flavor, you’ll want to split the bean, scrape out those seeds, and then let the whole pod steep in the warm cream. Don’t toss the pod after you’ve scraped it, though! You can rinse it, dry it, and use it to make vanilla-scented sugar or even grind it into powder for later use. It’s all about getting the most out of that wonderful ingredient.
More NutritionGeeks Wellness Guides
Explore more NutritionGeeks guides connected to wellness, recovery, hydration, energy, sleep and active lifestyle nutrition.
Creamy vs. Milky Base
There’s a bit of a debate, or maybe just a preference, when it comes to the base of panna cotta. Some recipes use only heavy cream, which makes for a really rich, decadent dessert. Others use a mix of cream and milk. Using milk can lighten things up a bit, making it less heavy. It really comes down to the texture you’re going for. An all-cream base is definitely more luxurious, but a cream and milk blend can be just as delicious and perhaps a bit more approachable for some folks. It’s a small change that can make a difference in the final feel of the dessert.
| Base Type | Texture | Richness | Notes |
|---|---|---|---|
| All Cream | Very Rich, Smooth | High | Decadent, luxurious |
| Cream & Milk | Lighter, Smooth | Medium | Less heavy, still creamy and satisfying |
Crafting the Perfect Vanilla Bean Panna Cotta Base
Making a good vanilla bean panna cotta comes down to the simple stuff: how you warm your cream, how you mix your gelatin, and whether or not your base is as smooth as silk. Here’s how to pull it off, without overcomplicating things.
Infusing the Cream with Vanilla
This part is fun but smells so good you’ll wish it lasted longer. Split open a vanilla bean and scrape out the seeds, dropping both the seeds and the pod into your cream (or cream and milk mix). Warm everything over low heat; don’t let it reach a simmer. Let it sit off the heat for 10–20 minutes so the vanilla really gets to know the cream. If I ever rush this step, the flavor just doesn’t pop—you can tell. Vanilla paste works, too, but the ritual of using the real bean feels kind of special.
Dissolving the Gelatin
This is where things can get lumpy if you move too fast. Gelatin needs to “bloom” first—meaning, sprinkle it over a little cold milk and let it swell for 5–10 minutes. I usually do this right in a small saucepan, which saves an extra bowl. Gelatin won’t melt properly unless it’s prepped this way. After blooming, set the pan on low and stir gently until everything dissolves. No boiling or high heat—boiling kills the setting power, and then you’ll be mad at yourself later.
Steps for Blooming Gelatin:
- Measure out the required quantity of plain powdered gelatin
- Sprinkle over cold milk (or water) in a small saucepan
- Wait 5–10 minutes until it becomes spongy
- Warm gently, stir until you can’t see any grains
Achieving Silky Smoothness
To be blunt, grainy panna cotta is disappointing. Once your vanilla-infused cream is warm and your gelatin has dissolved, whisk them together until uniform. Straining the mixture through a fine-mesh sieve is not extra, it is just what people do to catch any stray bits. Cool the batter to about room temperature before you pour it into glasses or ramekins, which helps keep the vanilla seeds from dropping to the bottom and keeps the whole thing from separating into weird layers.
Taking your time to cool the mixture before portioning isn’t just fussiness—it’s how you get that perfectly even, wobbly dessert instead of odd cream puddles with all the vanilla sunk at the base.
If you want panna cotta that’s super creamy, lean mostly on heavy cream. For a lighter touch, use more milk. The end result should jiggle without being rubbery.
A quick look at base combinations:
| Cream | Milk | Texture |
|---|---|---|
| 2 cups | 0 | Rich, dense |
| 1 cup | 1 cup | Balanced |
| 0.5 c | 1.5 c | Light, soft |
It’s not rocket science, but following these steps keeps your panna cotta smooth, creamy, and as vanilla-scented as you want it. If you mess up and it comes out clumpy or odd, just call it “rustic” and act like you meant to do it.
Essential Ingredients for Vanilla Bean Panna Cotta
Alright, let’s talk about what goes into making a truly fantastic vanilla bean panna cotta. It’s not a super long list, which is part of its charm, but the quality of what you use really makes a difference. You want that delicate flavor to shine, right?
Choosing Your Vanilla
This is where the magic happens. While you can use vanilla extract, for that authentic, deep vanilla flavor, you really want to use a vanilla bean or vanilla bean paste. A whole vanilla bean pod is the gold standard. You’ll slice it open, scrape out those tiny, fragrant seeds, and then let the pod itself steep in the cream and milk to really infuse its essence. Vanilla bean paste is a close second, offering a similar intense flavor and those lovely little black specks throughout the panna cotta. It’s a bit more effort than just pouring in extract, but trust me, the payoff is huge.
The Importance of Cream and Milk
The dairy is the backbone of your panna cotta. You’ll typically use a combination of heavy cream and whole milk. The cream brings richness and that luxurious mouthfeel, while the milk lightens it up just enough so it’s not too heavy. Some recipes might lean more heavily on cream for an extra decadent dessert, while others use a bit more milk for a lighter finish. For a subtler flavor, especially with delicate aromatics, using dairy from local producers can really make the flavors pop. It’s not a strict rule, but if you have access to really fresh, high-quality dairy, panna cotta is a great way to let it be the star.
Sweeteners and Thickeners
Granulated sugar is the usual suspect for sweetness. It dissolves easily and provides a clean, sweet taste that lets the vanilla be the main event. You can get a little fancy here, though. Some people like to use toasted sugar for a deeper, almost caramel-like note, or even a touch of brown sugar for a different kind of warmth.
The real workhorse for setting the panna cotta is gelatin. You’ll usually bloom unflavored gelatin in a bit of cold liquid (milk is often preferred over water to keep the flavor pure) before adding it to the warm dairy mixture. Getting the amount of gelatin just right is key to achieving that perfect, delicate wobble. Too little, and it won’t set; too much, and it’ll be rubbery. It’s a balancing act, for sure.
Here’s a quick look at the typical ratios you might see:
| Ingredient | Typical Ratio (by weight) | Notes |
|---|---|---|
| Heavy Cream | 14 oz (approx. 1 ¾ cups) | For richness and texture. |
| Whole Milk | 10-12 oz (approx. 1 ¼ cups) | To lighten the mixture. |
| Granulated Sugar | 3-5 oz (approx. ½ – ¾ cup) | Adjust to your sweetness preference. |
| Gelatin | 1-2 tsp (bloomed) | Unflavored, set with cold liquid. |
| Vanilla Bean | 1 whole pod | Seeds scraped, pod steeped for flavor. |
Getting the right balance of dairy is super important. Too much cream can make it heavy, and not enough can make it too thin. It’s all about that silky smooth texture.
When you’re gathering your ingredients, make sure you have everything ready to go. It makes the whole process much smoother. You can find most of these items at your local grocery store, though a good quality vanilla bean might be worth a special trip or ordering online from a reputable baking supply store. It’s worth the effort for the final taste, I promise.
Preparing and Chilling Your Panna Cotta
Alright, so you’ve got your lovely, vanilla-infused cream mixture all ready to go. Now comes the part where patience really pays off. Getting this right means the difference between a wobbly, delightful dessert and, well, something a bit sad.
Cooling the Mixture
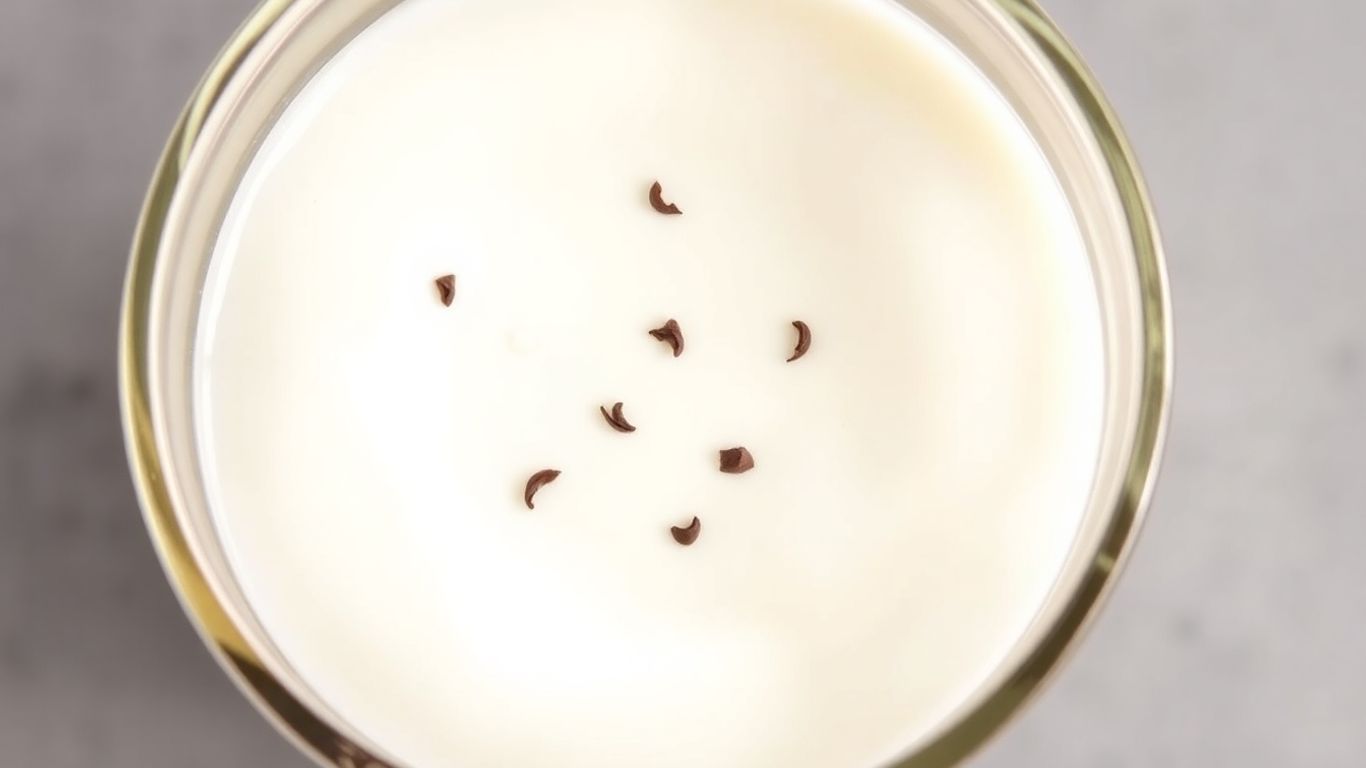
Before you even think about pouring, let that warm panna cotta base cool down. This step is super important to prevent the cream and milk from separating, which can leave you with an unappealing layer of liquid on top. You want everything to stay nicely blended. Give it a stir now and then as it cools to keep it all together. Aim for it to reach roughly room temperature. If you’re using a clear container, you can even watch it thicken up a bit – it should look like a nice, thick cream.
Portioning into Serving Dishes
Once cooled, it’s time to divide your mixture. You can use ramekins, small glasses, or whatever pretty little dishes you have. If you plan on un-molding the panna cotta later, give those dishes a very light greasing with a neutral oil and wipe it out with a paper towel. If you’re serving directly in the dishes, no need to grease them.
- For a smooth pour: Use a measuring cup with a spout or a jug. This makes it way easier to fill each dish evenly without making a mess.
- Serving size: A typical serving is around 4-5 ounces (about 1/2 cup). This recipe usually makes about 6 servings, but adjust based on your dish size.
- Strain if needed: If you added any spices or herbs that you don’t want floating around, now’s the time to strain the mixture before pouring.
Setting Time and Texture
After portioning, cover each dish with plastic wrap. This stops a skin from forming and keeps out any fridge smells. Then, into the refrigerator they go. The magic happens here, but it takes time. You’re looking at a minimum of 4 to 6 hours for the panna cotta to set. For a firmer texture, you can leave it longer, even overnight. The longer it chills, the more it firms up, but it won’t get infinitely firmer after about 12 hours.
Don’t rush the chilling process. A properly set panna cotta should have a gentle wobble when you nudge the dish, but it shouldn’t be liquid. It should feel smooth and creamy on the tongue, not rubbery or too firm.
Elevating Your Vanilla Bean Panna Cotta with Toppings
So, you’ve made this beautiful, creamy vanilla bean panna cotta. It’s smooth, it’s delicate, and it tastes amazing on its own. But honestly, a great panna cotta is just begging for a little something extra, right? It’s like a blank canvas for flavor. Adding toppings is where you can really make it your own and impress whoever you’re serving it to.
Fresh Fruit Pairings
This is probably the most classic way to go, and for good reason. The bright, fresh taste of fruit cuts through the richness of the panna cotta perfectly. Think about what’s in season. In the summer, fresh berries like raspberries, strawberries, or blueberries are fantastic.
A few perfectly ripe cherries, maybe halved and pitted, also work wonders. Even something simple like sliced peaches or nectarines can be a real treat. You don’t need to do much to them; a little sprinkle of sugar can help bring out their natural sweetness, but often, they’re perfect just as they are.
Compotes and Sauces
If you want something a bit more involved than just fresh fruit, a compote or sauce is the way to go. A compote is basically fruit cooked down with a little sugar and maybe some liquid until it’s soft and syrupy. You can make a quick strawberry compote by simmering berries with a tablespoon or two of sugar until they break down.
Or, get a little fancy with a rhubarb compote – it has a lovely tartness that balances the sweet panna cotta. Sauces are similar, but can be a bit thinner. A simple berry coulis, which is just pureed fruit strained to be super smooth, is always a winner. You could even do a caramel sauce if you’re feeling decadent.
Garnishes for Presentation
Don’t forget the little details that make your dessert look as good as it tastes! A sprig of fresh mint is a simple, classic garnish that adds a pop of green and a hint of freshness. A few toasted nuts, like slivered almonds or chopped pistachios, can add a nice textural contrast. If you used a vanilla bean, you might even have some leftover seeds you can sprinkle on top for visual appeal. Sometimes, just a light dusting of cocoa powder or a tiny drizzle of a contrasting sauce is all you need to make it look restaurant-worthy.
The key to great toppings is balance. You want something that complements the panna cotta, not overpowers it. Think about contrasting textures and flavors – something tart with the sweet, something crunchy with the smooth. It doesn’t have to be complicated; simple additions often make the biggest impact.
Tips for Vanilla Bean Panna Cotta Success
Making panna cotta at home is pretty straightforward, but like anything, there are a few little tricks that can make the difference between a good dessert and a great one. Don’t worry, though, these aren’t complicated secrets, just some things to keep in mind.
Avoiding Separation
One of the most common issues people run into is the panna cotta separating into layers. This usually happens if you pour the mixture into your serving dishes while it’s still too hot. The cream and milk can split, and the vanilla seeds might all settle at the bottom. Letting the mixture cool down to about room temperature before portioning is key. You can give it a whisk now and then while it cools to keep everything nicely blended. It’s a simple step, but it really helps achieve that smooth, uniform texture we’re going for.
Make-Ahead Strategies
Panna cotta is a dessert that really shines when made ahead of time. It needs several hours to set properly, so planning is your friend here. You can easily make the base a day or two in advance and keep it chilled in its serving dishes. This takes a lot of the last-minute stress out of entertaining. Just cover each dish with plastic wrap to prevent a skin from forming on top. When you’re ready to serve, just add your toppings.
Reheating and Resetting
Okay, so maybe you messed up the mold, or you decided halfway through that you wanted to serve it in a different dish. Good news: you can actually remelt a set panna cotta and let it reset. It sounds a bit odd, but it works! Gently warm the mixture until it’s liquid again, then pour it into your desired molds or dishes and let it chill until set.
It’s a handy trick if you need to change your presentation plans. Just be sure to cool it properly before the second chilling, just like the first time, to avoid any separation issues. For more details on the initial preparation, check out this guide on dissolving sugar.
Here’s a quick rundown of the chilling times:
- Minimum Setting Time: 4 hours (for a softer set)
- Ideal Setting Time: 6-8 hours (for a firmer, more stable set)
- Maximum Firmness: Achieved after 12 hours of chilling
Conclusion
So there you have it, a simple, elegant vanilla bean panna cotta dessert that’s surprisingly easy to whip up. This vanilla bean panna cotta is perfect for when you want to impress without a lot of fuss. Whether you serve it in little glasses or unmold it onto a plate, it’s a creamy, dreamy treat. Top it with some fresh berries, a drizzle of fruit sauce, or even just a sprinkle of mint. It’s a fantastic make-ahead option for parties or just a sweet ending to any meal. Enjoy every smooth, wobbly bite!
Frequently Asked Questions
What exactly is Panna Cotta?
Panna cotta is a delightful Italian dessert that means “cooked cream.” It’s a smooth, creamy treat made without eggs, and it gets its lovely texture from a little bit of gelatin. Think of it like a fancy, jiggly pudding!
Why is vanilla bean used in this recipe?
Using a real vanilla bean, with its tiny seeds, gives the panna cotta a much richer and more authentic vanilla flavor compared to just using vanilla extract. It makes the dessert taste extra special and look beautiful with little specks throughout.
Can I use vanilla extract instead of a vanilla bean?
You can, but it won’t be quite the same! Vanilla extract is easier to find and use, but a real vanilla bean provides a deeper, more complex flavor and those pretty little black specks that make panna cotta look so appealing. If you do use extract, make sure it’s good quality.
How long does panna cotta need to chill before it’s ready?
Panna cotta needs a good amount of time to set properly. Usually, it takes about 4 to 6 hours in the refrigerator. For the best texture, some people like to let it chill even longer, like overnight.
What’s the best way to serve panna cotta?
Panna cotta is super versatile! You can serve it right in small cups or ramekins, or if you lightly grease them, you can carefully flip them out onto a plate. It’s delicious topped with fresh fruit, a fruit sauce, or even a sprinkle of chocolate shavings.
My panna cotta separated into layers. What went wrong?
That can happen if the mixture is too hot when you pour it into the serving dishes or if it doesn’t cool down enough before chilling. Letting the mixture cool to about room temperature and whisking it occasionally helps keep everything smoothly blended and prevents the cream and milk from separating as it sets.
You may also find this Nutrition Geeks guide helpful: Easy Courgette Balls: A Delicious Greek Appetizer.
You may also find this Nutrition Geeks guide helpful: Explore Authentic Belgian Recipes for Your Next Culinary Adventure.
You may also find this Nutrition Geeks guide helpful: Discover Delicious Venison Recipes for Your Next Wild Game Feast.
You may also find this Nutrition Geeks guide helpful: Mastering the Art of Simple Buckwheat Bread: A Beginner’s Guide.