Disclosure: This post may contain affiliate links, meaning if you decide to make a purchase through my links I may earn a commission at no additional cost to you. See my disclosure for more info.
Have you been looking for more details on how to prepare the Dutch kaassoufflé recipe? If that is the case then welcome to Nutrition Geeks. It is awesome to have you here. I hope our resources and the information in this post will be of assistance to you.
Thinking about making a kaassoufflé? It’s a pretty popular snack, especially in the Netherlands. Basically, it’s a cheesy filling wrapped up in puff pastry, then fried or baked until it’s golden and crispy. Sounds good, right? We’ll walk you through how to get this delicious treat ready, from picking your cheese to cooking it up just right. Whether you’re a total beginner or just looking for a refresher, this guide should help you make a great kaassoufflé.
Key Takeaways
- Start by preparing your puff pastry and choosing a good melting cheese like Gouda or Edam for the best kaassoufflé.
- Assemble the kaassoufflé by adding the cheese filling, sealing the edges well with a fork, and coating it with egg and breadcrumbs.
- You can cook your kaassoufflé by deep-frying, air frying, or baking it in the oven.
- Serve your finished kaassoufflé hot with your favorite dipping sauce, such as chili sauce or peanut sauce.
- Leftover kaassoufflé can be stored in the fridge and reheated later, though it’s best enjoyed fresh.
Preparing Your Kaassoufflé
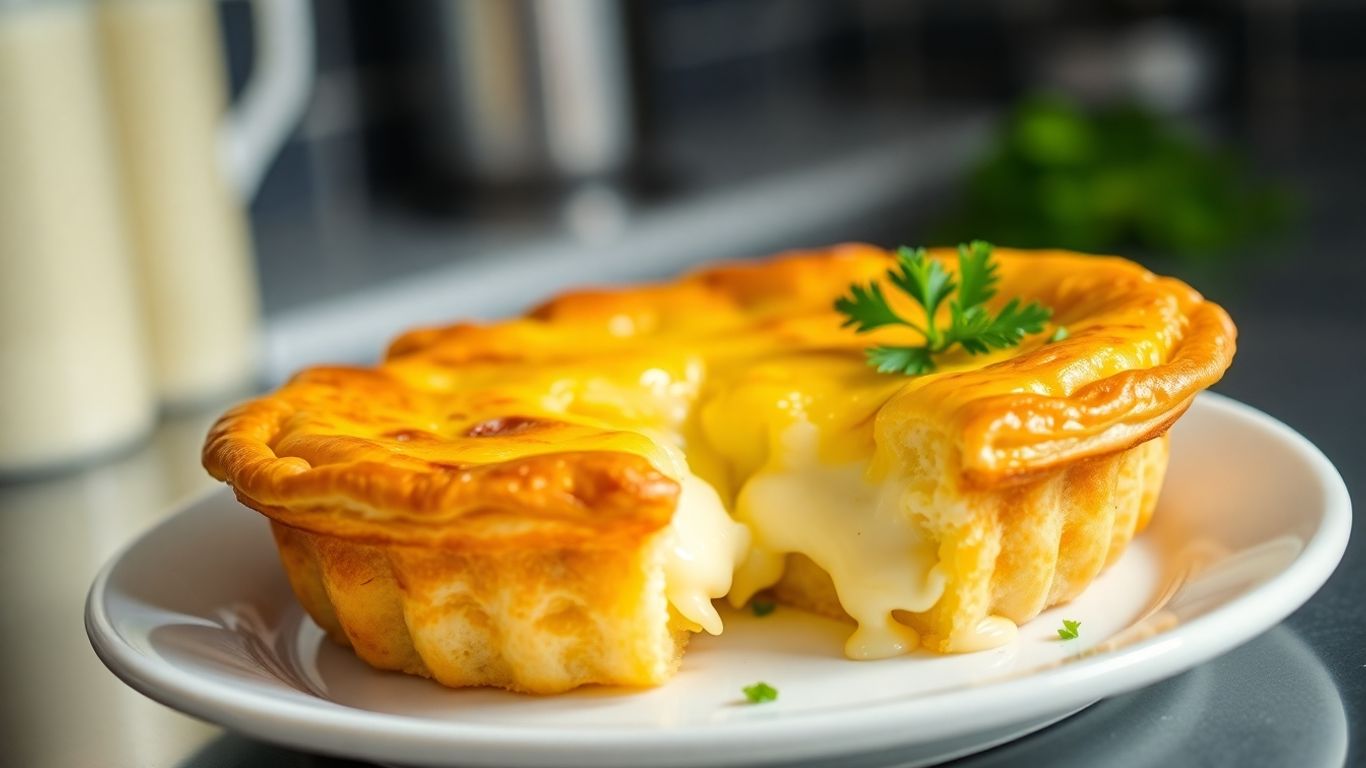
Gathering Kaassoufflé Ingredients
Alright, let’s get down to business with the ingredients for our kaassoufflé. It’s pretty straightforward, which is part of the charm, right? You’ll need a package of puff pastry, thawed out. Make sure it’s not too cold, or it’ll be a pain to work with. Then, of course, the star of the show: cheese. Gouda is the classic choice, but we’ll get to that in a sec. You’ll also need a couple of eggs for the egg wash, some breadcrumbs for that crispy coating, and a pinch of salt and pepper to season everything up. That’s really it! Simple ingredients for a seriously satisfying snack.
Explore more NutritionGeeks guides related to wellness, recovery, nutrition and active lifestyle support.
Choosing The Right Cheese For Kaassoufflé
So, about the cheese. While Gouda is the go-to for a reason – it melts beautifully and has a nice, mild flavor, don’t feel like you’re limited to just that. Edam is another excellent Dutch cheese that works wonderfully. If you want to mix things up a bit, a good quality Swiss cheese can also be a tasty alternative, adding a slightly nuttier profile. The key is to use cheese that melts well and isn’t too crumbly. You want that gooey, cheesy center, not a dry, flaky mess. Slices work best because they’re easy to fold and fit neatly into the pastry.
Preparing The Puff Pastry
This is where we start building our kaassoufflé. Take your thawed puff pastry sheets and lay them out on a clean, flat surface. You don’t need to roll them out too much, just a gentle nudge with a rolling pin to make them a bit more pliable. Then, cut each sheet into thirds. You should end up with six pieces from each sheet. This size is pretty standard, but you can adjust it if you want smaller or larger kaassoufflés. Just remember to adjust your cheese slices accordingly. The goal is to have a nice, even surface to work with for adding the cheese and sealing everything up.
More NutritionGeeks Wellness Guides
Explore more NutritionGeeks guides connected to wellness, recovery, hydration, energy, sleep and active lifestyle nutrition.
Here’s a quick rundown of the pastry prep:
- Gently roll out the thawed puff pastry sheets.
- Cut each sheet into three equal portions.
- Aim for pieces that are easy to handle and fold.
Working with puff pastry can be a bit tricky if it’s too warm or too cold. If it’s too warm, it gets sticky and hard to cut cleanly. If it’s too cold, it might crack when you fold it. Finding that sweet spot is key to getting nice, neat kaassoufflés.
Assembling The Kaassoufflé
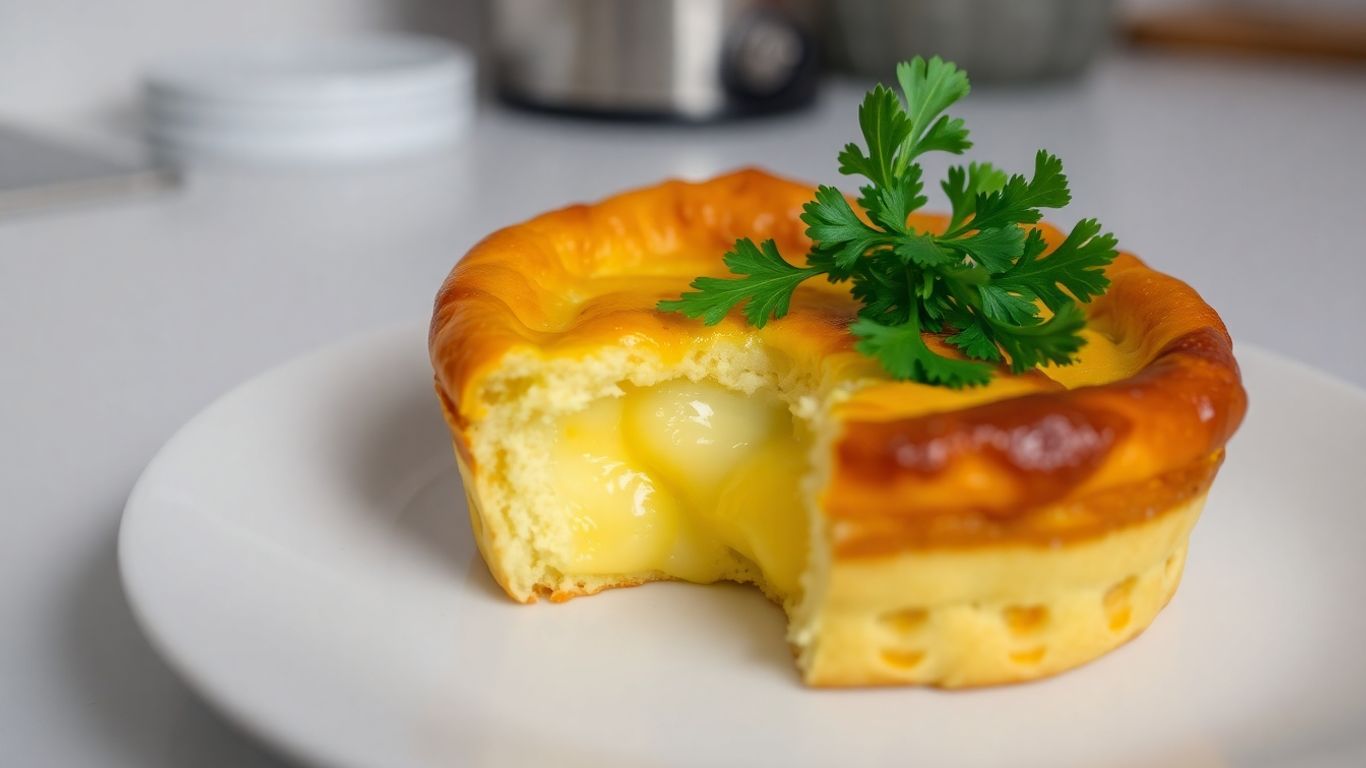
Alright, so you’ve got your puff pastry ready and your cheese sliced – now comes the fun part: putting it all together! This is where your kaassoufflé really starts to take shape, and honestly, it’s not too tricky once you get the hang of it.
Adding The Cheesy Filling
First things first, grab your puff pastry sheets. If they’re still a bit cold, let them warm up just enough so they’re pliable. You want to be able to work with them without them tearing. Lay them out on a clean, dry surface. Now, take your cheese slices – remember, we talked about picking the right kind? – and fold each slice in half. Place one folded piece of cheese onto one half of each puff pastry square, leaving a little border around the edges. This border is important; it’s what we’ll use to seal everything up.
Sealing The Pastry Edges
This step is all about making sure that glorious cheese stays inside the pastry. Take a little bit of beaten egg (this is our ‘glue’) and brush it along the edges of the puff pastry where the cheese isn’t. Then, carefully fold the other half of the puff pastry over the cheese, creating a little pocket. Now, use a fork to press down firmly along all the edges. You want to create a good seal. Go around the edges a couple of times with the fork. If there’s any extra pastry hanging over, you can trim it off to make things look neat, but don’t cut too close to the sealed edge!
Applying The Breading
This is what gives your kaassoufflé that irresistible golden crunch. You’ll need two shallow dishes for this. In one, put your seasoned breadcrumbs – salt and pepper are a good start, but feel free to add other spices you like. In the other dish, have your beaten eggs ready. First, dip each sealed pastry pocket into the beaten egg, making sure it’s coated all over. Let any excess egg drip off for a second. Then, carefully transfer it to the breadcrumbs. Gently press the breadcrumbs onto the pastry so they stick well. Flip it over and do the same on the other side. You want a nice, even coating of breadcrumbs all around. This double coating ensures a super crispy exterior.
A little tip: Don’t overcrowd your breading dishes. Work with a few kaassoufflés at a time to keep the egg wash from getting too clumpy with breadcrumbs. This keeps the coating nice and even.
Here’s a quick rundown of the assembly process:
- Prepare Pastry: Lay out puff pastry, cut if needed.
- Add Cheese: Place folded cheese slice on one half of the pastry.
- Seal Edges: Brush edges with egg wash, fold pastry over, and press firmly with a fork.
- Trim Excess: Neaten up the edges if necessary.
- Egg Wash: Dip sealed pastry in beaten egg.
- Bread: Coat thoroughly in seasoned breadcrumbs on all sides.
Cooking Methods For Kaassoufflé
Alright, so you’ve got your kaassoufflés all assembled and ready to go. Now comes the fun part: cooking them! You’ve got a few solid options here, and honestly, each one brings something a little different to the table.
Deep-Frying Your Kaassoufflé
This is probably the most traditional way to get that perfect, crispy exterior. You’ll want to heat up your oil to about 350°F (175°C). Carefully place your breaded kaassoufflés into the hot oil, working in batches so you don’t crowd the pan. They usually only need about 2 minutes per side. You’re looking for that beautiful golden-brown color and for the pastry to puff up nicely.
Be super careful when deep-frying. Hot oil can be tricky, so make sure you’ve got a good setup and keep kids and pets away from the kitchen. A splatter screen is your best friend here!
Air Frying Kaassoufflé To Perfection
If you’re looking for a slightly lighter take, or maybe just want to use a gadget you already have, the air fryer is a great choice. Preheat your air fryer to 350°F (175°C). Give your kaassoufflés a quick spray with some cooking oil – this helps them get nice and crispy. Pop them in and air fry for about 9 to 11 minutes, flipping them halfway through. They come out wonderfully golden and puffed.
Baking Kaassoufflé In The Oven
Baking is another straightforward method. Preheat your oven to 350°F (175°C). You can place the kaassoufflés directly on a baking sheet lined with parchment paper. Again, a little spray of oil before they go in can really help achieve that desirable crispiness. Bake for about 10 minutes, or until they’re puffed and golden. This method is super easy if you’re making a big batch.
Here’s a quick rundown of cooking times:
| Method | Temperature | Time (per side/total) | Notes |
|---|---|---|---|
| Deep-Frying | 350°F (175°C) | ~2 minutes per side | Fry in batches, watch for golden brown. |
| Air Frying | 350°F (175°C) | 9-11 minutes total | Spray with oil, flip halfway. |
| Baking | 350°F (175°C) | ~10 minutes total | Spray with oil for crispiness. |
Serving And Storing Kaassoufflé
Alright, so you’ve gone and made these amazing kaassoufflés. Now what? The best part, of course, is eating them! But how do you make sure they’re just right, and what if you have some left over? Let’s get into it.
Popular Dipping Sauces For Kaassoufflé
These cheesy pockets are fantastic on their own, but a good sauce really takes them to the next level. Think of it as the perfect partner for that crispy, cheesy goodness. Some classics that always hit the spot include:
- Chili Sauce: A little bit of heat and sweetness is a great contrast to the rich cheese.
- Peanut Sauce: Creamy, savory, and a little bit exotic, this is a popular choice for a reason.
- Ketchup: You can never go wrong with a simple, classic ketchup.
- Mayonnaise: Don’t knock it till you try it! A plain or garlic-infused mayo can be surprisingly good.
Enjoying Your Kaassoufflé Fresh
Honestly, the absolute best way to enjoy a kaassoufflé is piping hot, straight from the fryer, air fryer, or oven. That moment when the pastry is super puffed and golden, and the cheese inside is all melty and gooey? That’s pure magic. Just be careful, they are seriously hot right out of the cooking vessel. Give them a minute or two to cool down just enough so you don’t burn your tongue – nobody wants that!
Remember, the goal is that perfect balance of a flaky, crispy exterior and a molten, cheesy interior. This is best achieved when they’re served immediately after cooking.
Storing Leftover Kaassoufflé
Okay, so maybe you made a few too many, or you just couldn’t finish them all. It happens! If you find yourself with leftover kaassoufflés, don’t just toss them. They’re still pretty tasty if you handle them right.
- Refrigerate: Let them cool down completely, then pop them into an airtight container or a resealable bag. They should be good in the fridge for a day or two.
- Reheating: The trick to reviving them is getting that crispiness back. The best methods are usually:
- Air Fryer: Pop them in at around 350°F (175°C) for 3-5 minutes until heated through and crispy again.
- Oven: A quick stint in a preheated oven (around 375°F or 190°C) for about 5-7 minutes should do the trick.
- Frying Pan: You can also reheat them in a lightly oiled pan over medium heat, turning them until golden and warm. This works pretty well too!
While they won’t be exactly like the fresh-from-the-fryer experience, reheating them properly makes them a perfectly acceptable snack for later.
Variations On The Classic Kaassoufflé
So, you’ve mastered the basic kaassoufflé, huh? That’s awesome! But what if you’re feeling a little adventurous, or maybe you just want to switch things up? The beauty of the kaassoufflé is that it’s a fantastic canvas for all sorts of delicious additions. It’s not just about cheese anymore!
Adding Extra Fillings To Kaassoufflé
This is where things get really fun. While the classic is pure cheesy goodness, you can totally jazz it up. Think about what goes well with cheese. A thin slice of ham is a super popular addition, adding a salty, savory kick that complements the melted cheese perfectly. Some people even like to add a bit of cooked spinach for a touch of green and a slightly different flavor profile. Just make sure whatever you add is cooked and not too wet, or you’ll have a soggy pastry situation on your hands. A little goes a long way here; you don’t want to overstuff it.
Alternative Cheese Choices
While Gouda and Edam are the traditional Dutch choices, don’t feel limited! You can experiment with other semi-hard cheeses that melt well. Swiss cheese offers a nutty flavor, and a good quality cheddar can give it a sharper bite. Even a blend of cheeses can be amazing. Just remember to use slices or finely grated cheese that melts evenly. You’re looking for that gooey, stretchy cheese pull when you bite into it.
Serving Kaassoufflé On A Roll
Ever heard of a ‘broodje kaassoufflé’? It’s exactly what it sounds like – a kaassoufflé served on a bread roll. This turns your snack into a more substantial meal. You can split a soft bun, place a freshly fried kaassoufflé inside, maybe add a little lettuce or a smear of sauce, and voilà! It’s a simple but satisfying way to enjoy this Dutch treat, especially if you’re looking for something a bit more filling than just the fried pastry. It’s a common sight at Dutch snack bars, showing just how versatile this snack is.
Don’t be afraid to get creative in the kitchen. The kaassoufflé is a forgiving recipe, and experimenting with different fillings and cheeses can lead to some truly delightful discoveries. Just remember to keep the pastry edges sealed well to avoid any cheesy leaks during cooking.
Enjoy Your Homemade Kaassoufflé!
So there you have it, a super simple way to make kaassoufflé right in your own kitchen. Whether you fry them, bake them, or pop them in the air fryer, they come out golden and cheesy every time. They’re perfect for a quick snack, a party appetizer, or just when you’re craving something warm and satisfying. Don’t be afraid to experiment with different cheeses or add a little ham if you’re feeling adventurous. Give this recipe a try – you might be surprised at how easy and delicious homemade kaassoufflé can be!
Frequently Asked Questions
What exactly is a kaassoufflé?
A kaassoufflé is a popular Dutch snack. Think of it as a cheesy pocket made from puff pastry. It’s filled with cheese, then coated in breadcrumbs and cooked until it’s golden and crispy on the outside, with warm, gooey cheese inside.
What kind of cheese works best for kaassoufflé?
Gouda or Edam cheese slices are classic choices because they melt really well. You can also try Swiss cheese or even Raclette cheese for a different flavor. The key is to use cheese that melts nicely without becoming too watery.
Can I make kaassoufflé without deep-frying?
Absolutely! While deep-frying gives it that traditional crunch, you can also bake them in the oven or cook them in an air fryer. Just remember to spray them with a little oil before baking or air frying for that perfect golden-brown finish.
What are some good dipping sauces for kaassoufflé?
Many people love dipping their kaassoufflé in chili sauce or ketchup. Peanut sauce is another popular choice in the Netherlands. Really, any sauce you enjoy would be great!
How should I store leftover kaassoufflé?
Kaassoufflés are best enjoyed right after they’re made when they’re hot and crispy. If you have leftovers, store them in the fridge. To reheat, you can pop them back into an air fryer or a pan with a little oil to bring back some of their crispiness.
Can I add other ingredients to the cheese filling?
Yes, you can get creative! Some people like to add a thin slice of ham along with the cheese for extra flavor. You could also experiment with a little bit of cooked spinach or even a tiny bit of mustard for a zesty kick.
You may also find this Nutrition Geeks guide helpful: Authentic Shrimp Saganaki: A Taste of Greek Sunshine with Tomatoes and Feta.
You may also find this Nutrition Geeks guide helpful: Grass Jelly: A Refreshing Treat with Surprising Origins and Uses.
You may also find this Nutrition Geeks guide helpful: Effortless One Pot French Onion Pasta: A Weeknight Dinner Miracle.
You may also find this Nutrition Geeks guide helpful: Exploring the Delicious World of Herbal Life Shake Flavors.